Manual how to install your controller.
This is an ongoing project and this instruction is not yet complete.
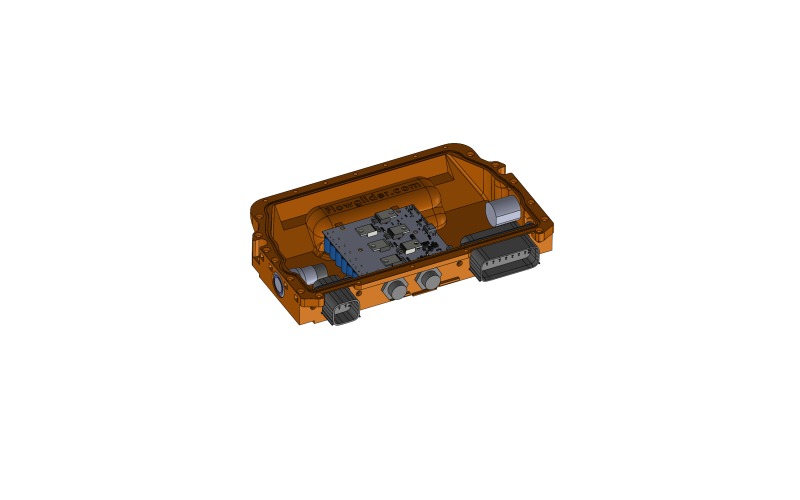
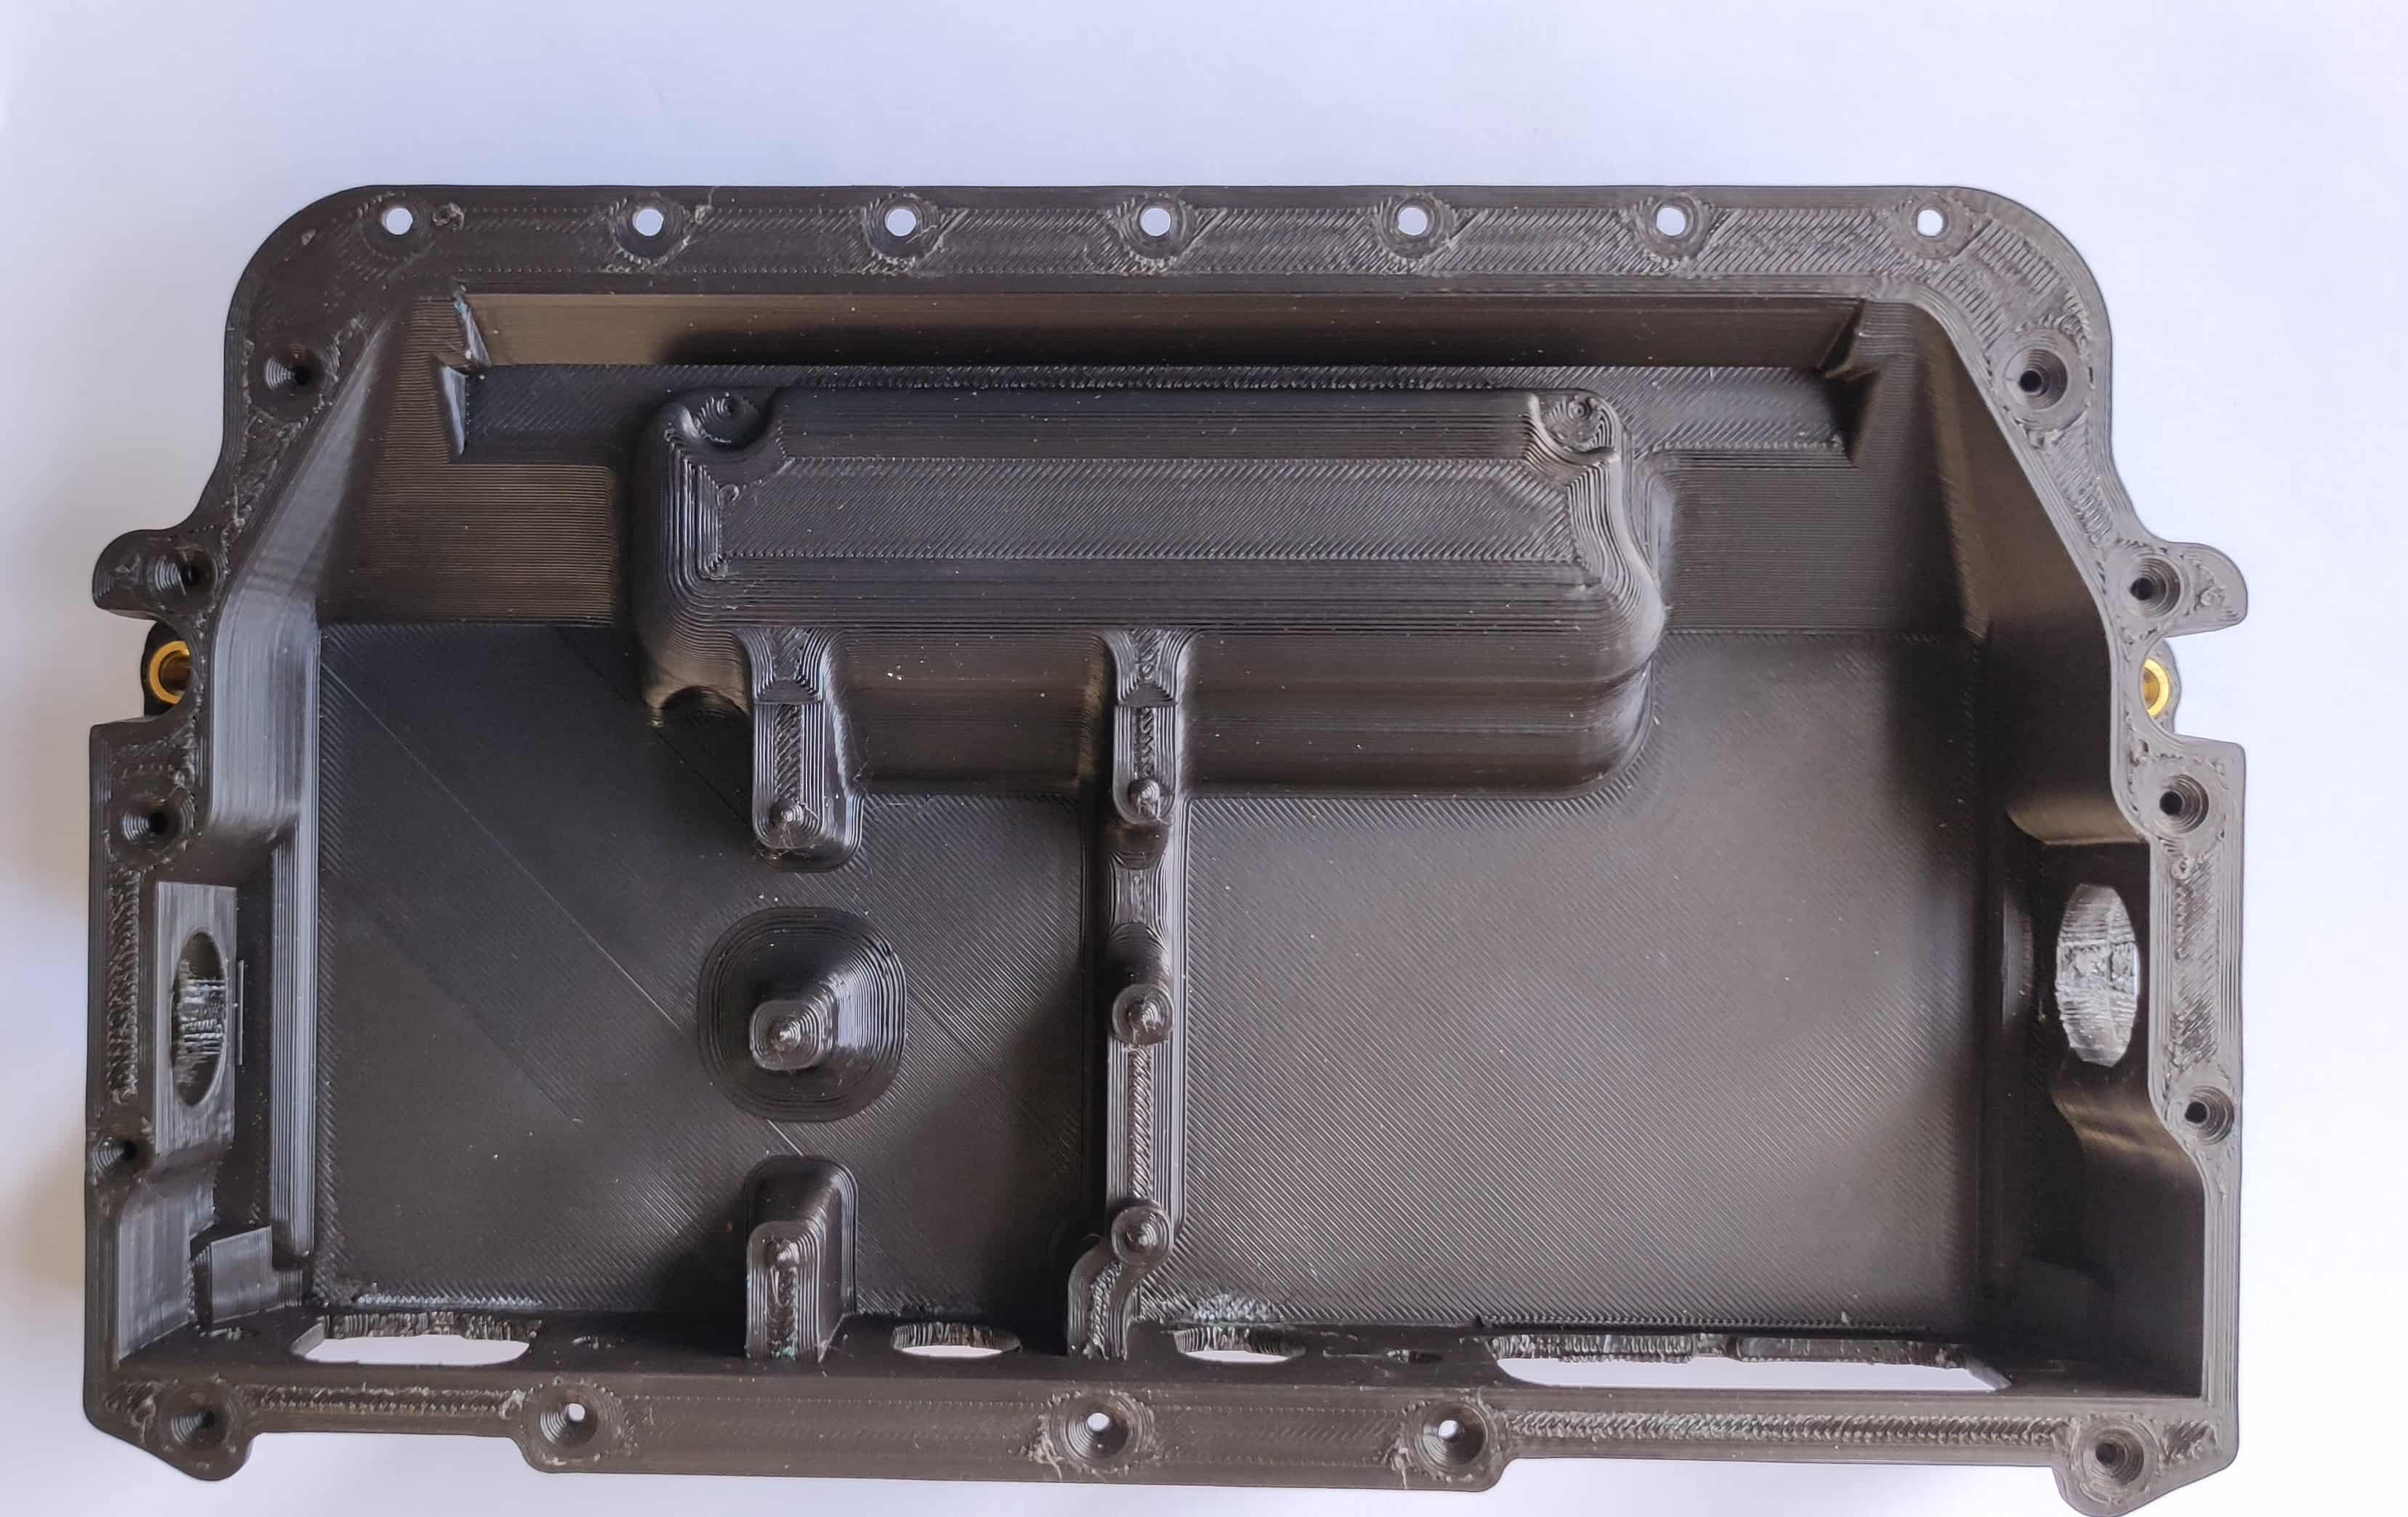
Step 1. Download HERE the .stl file and print the box.
Step 2. Prepare/assemble and lay out all the parts you need for the installation of the controller.
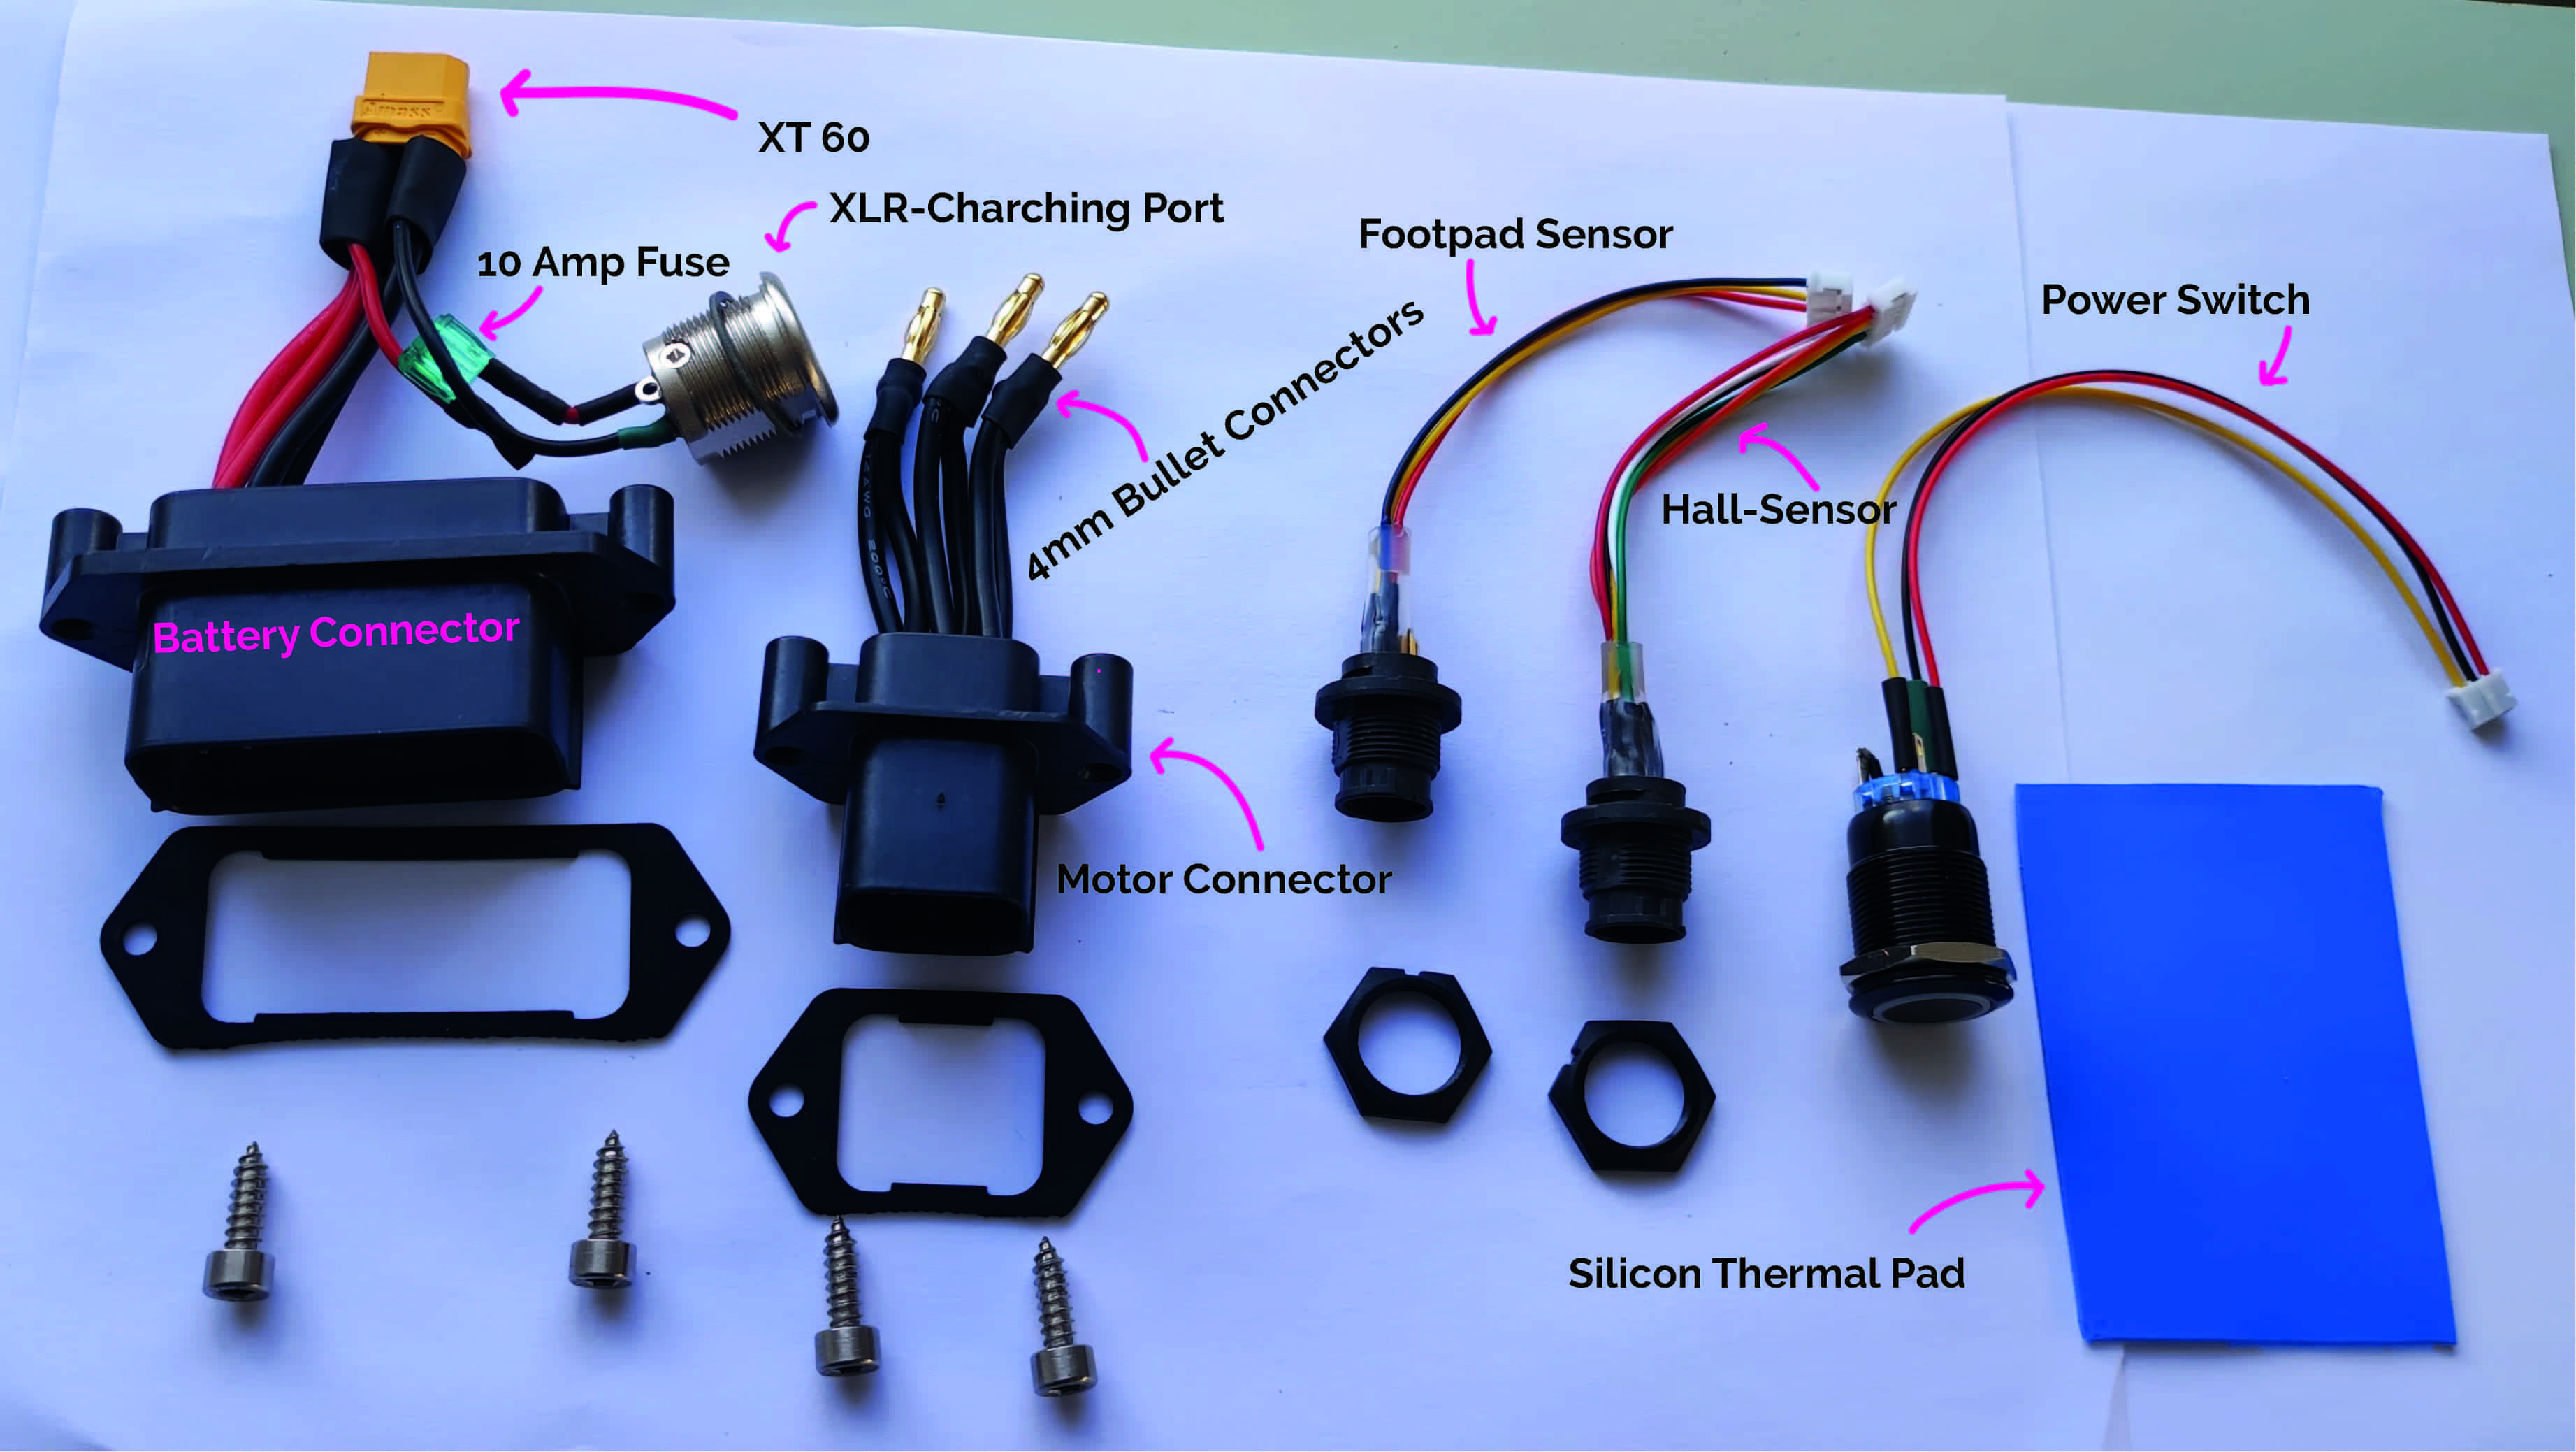
Step 3. Install the footpad-sensor and hall-sensor connectors. You can put them on either side, they fit both holes.
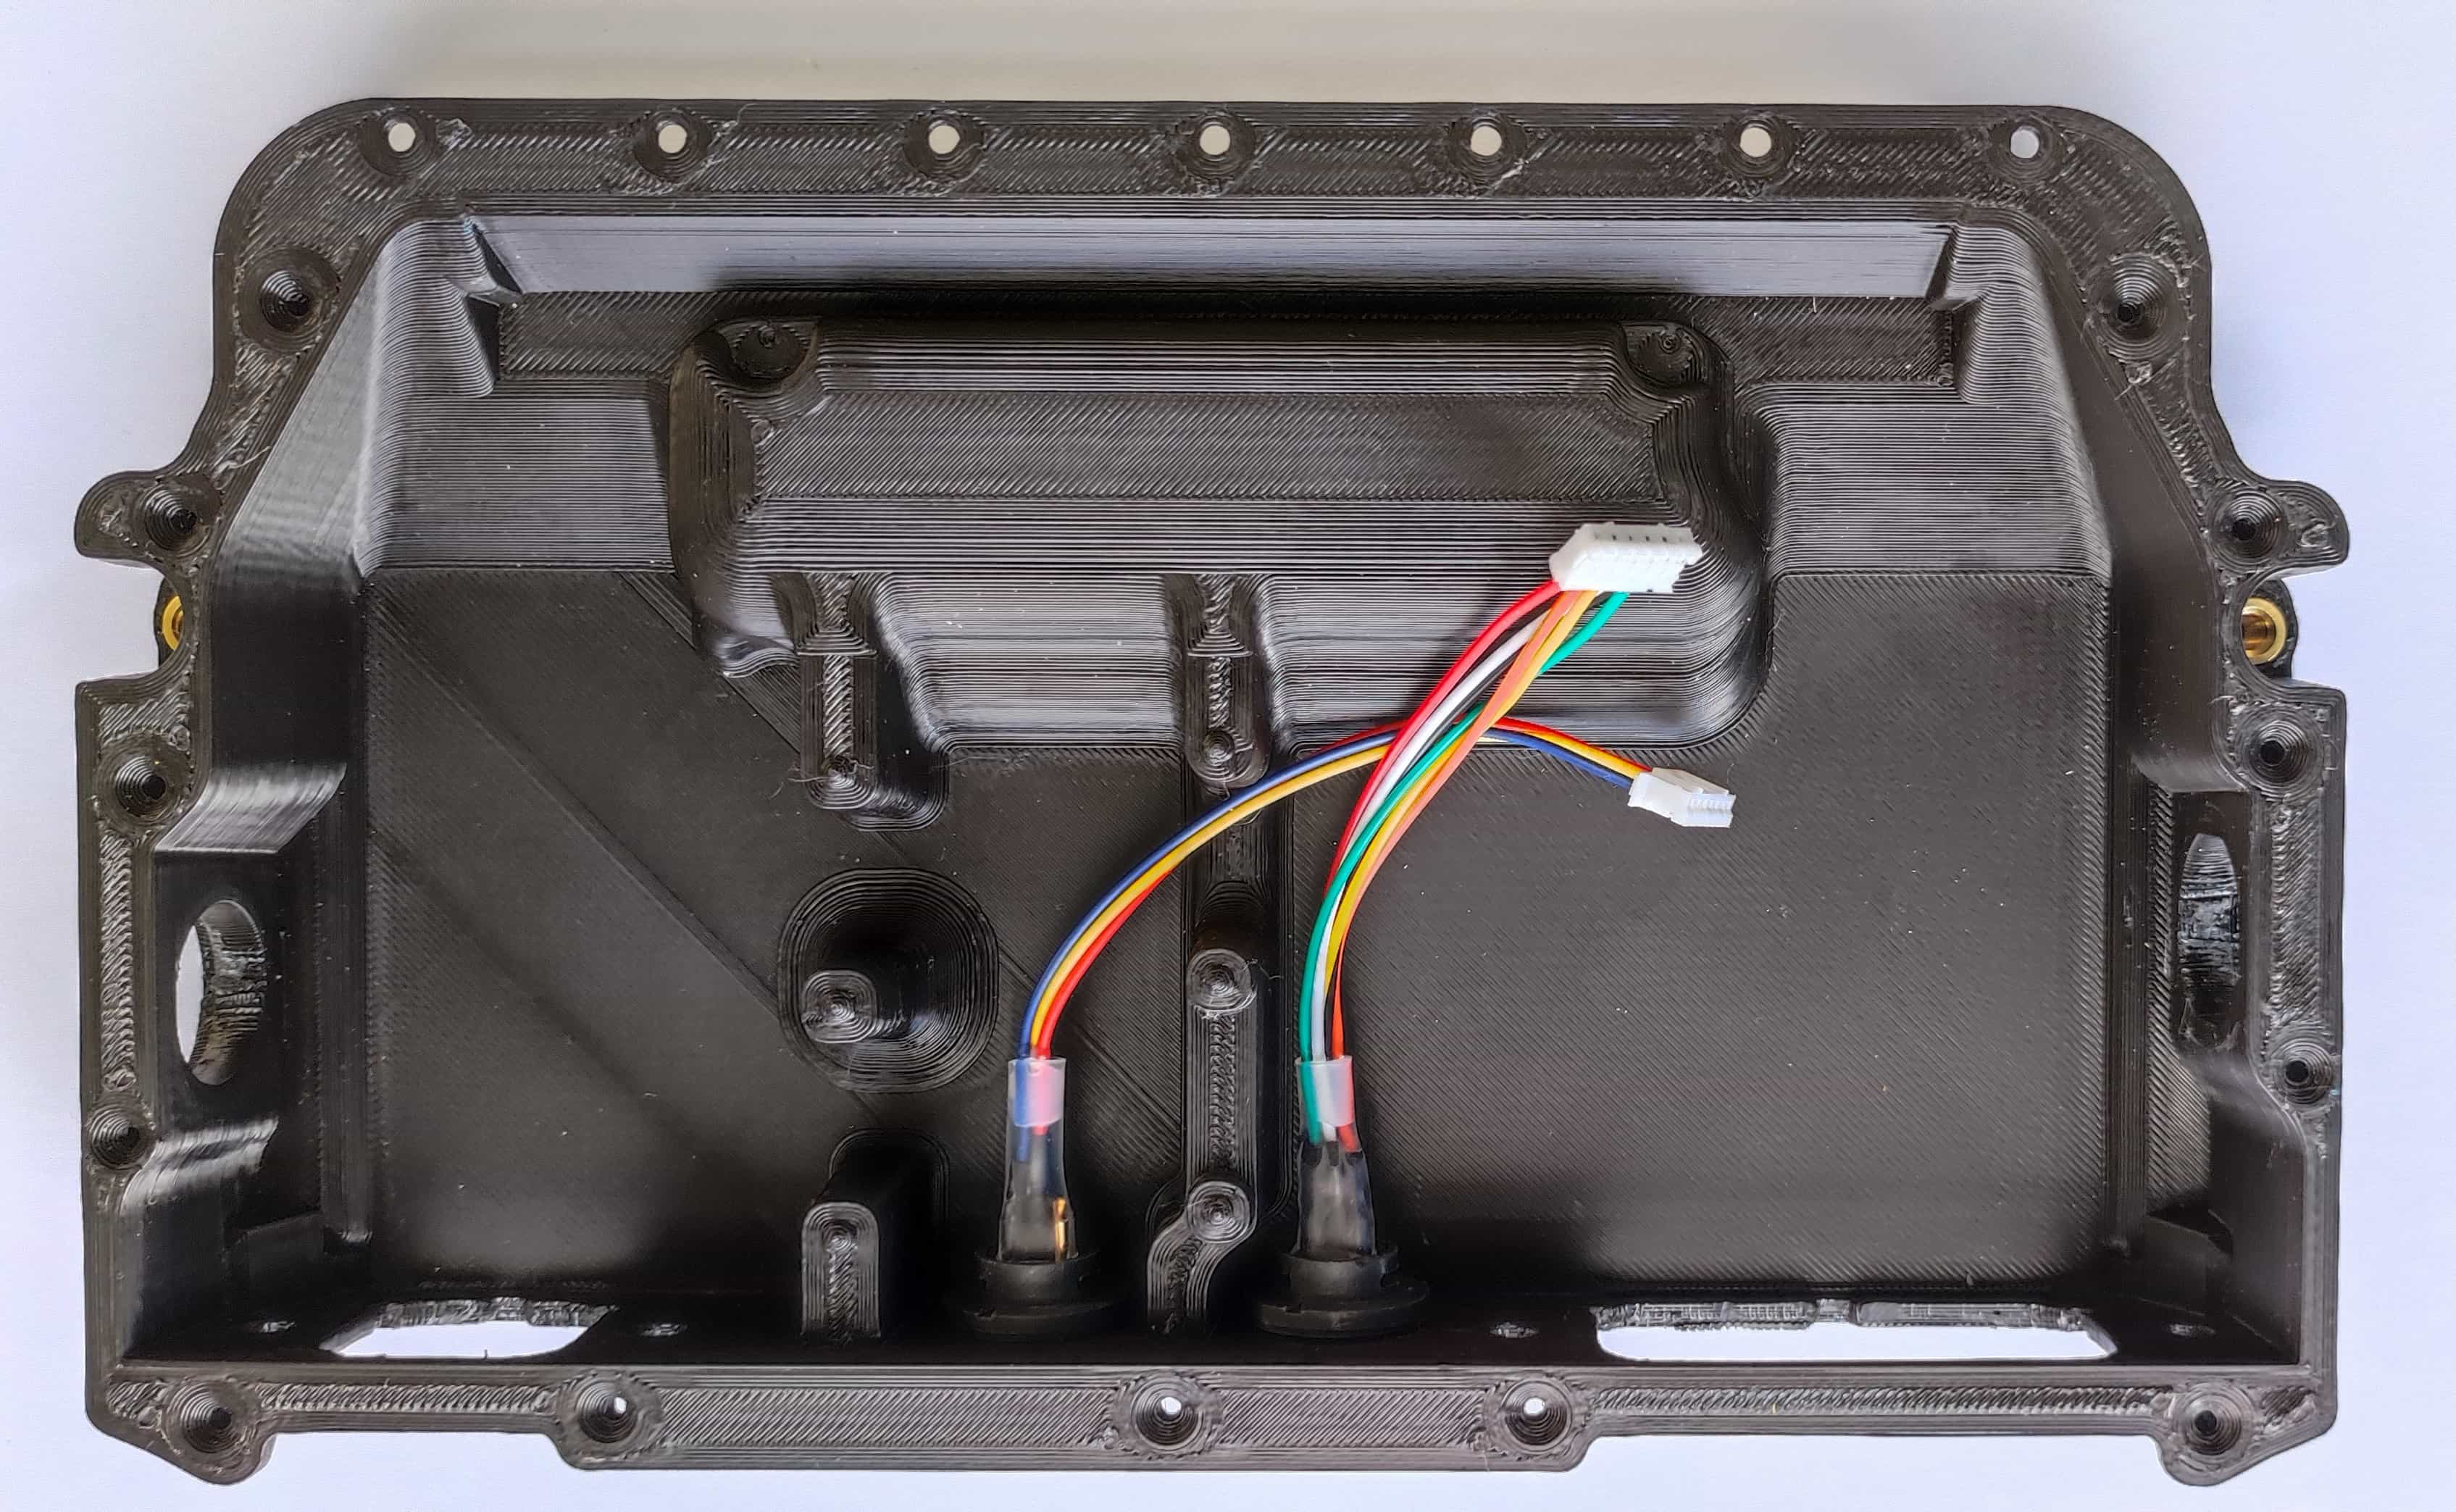
Step 4. Put the gasket on the motor-connector and install the connector in the box.
Step 5. Put the gasket on the battery-connector and install the connector in the box.
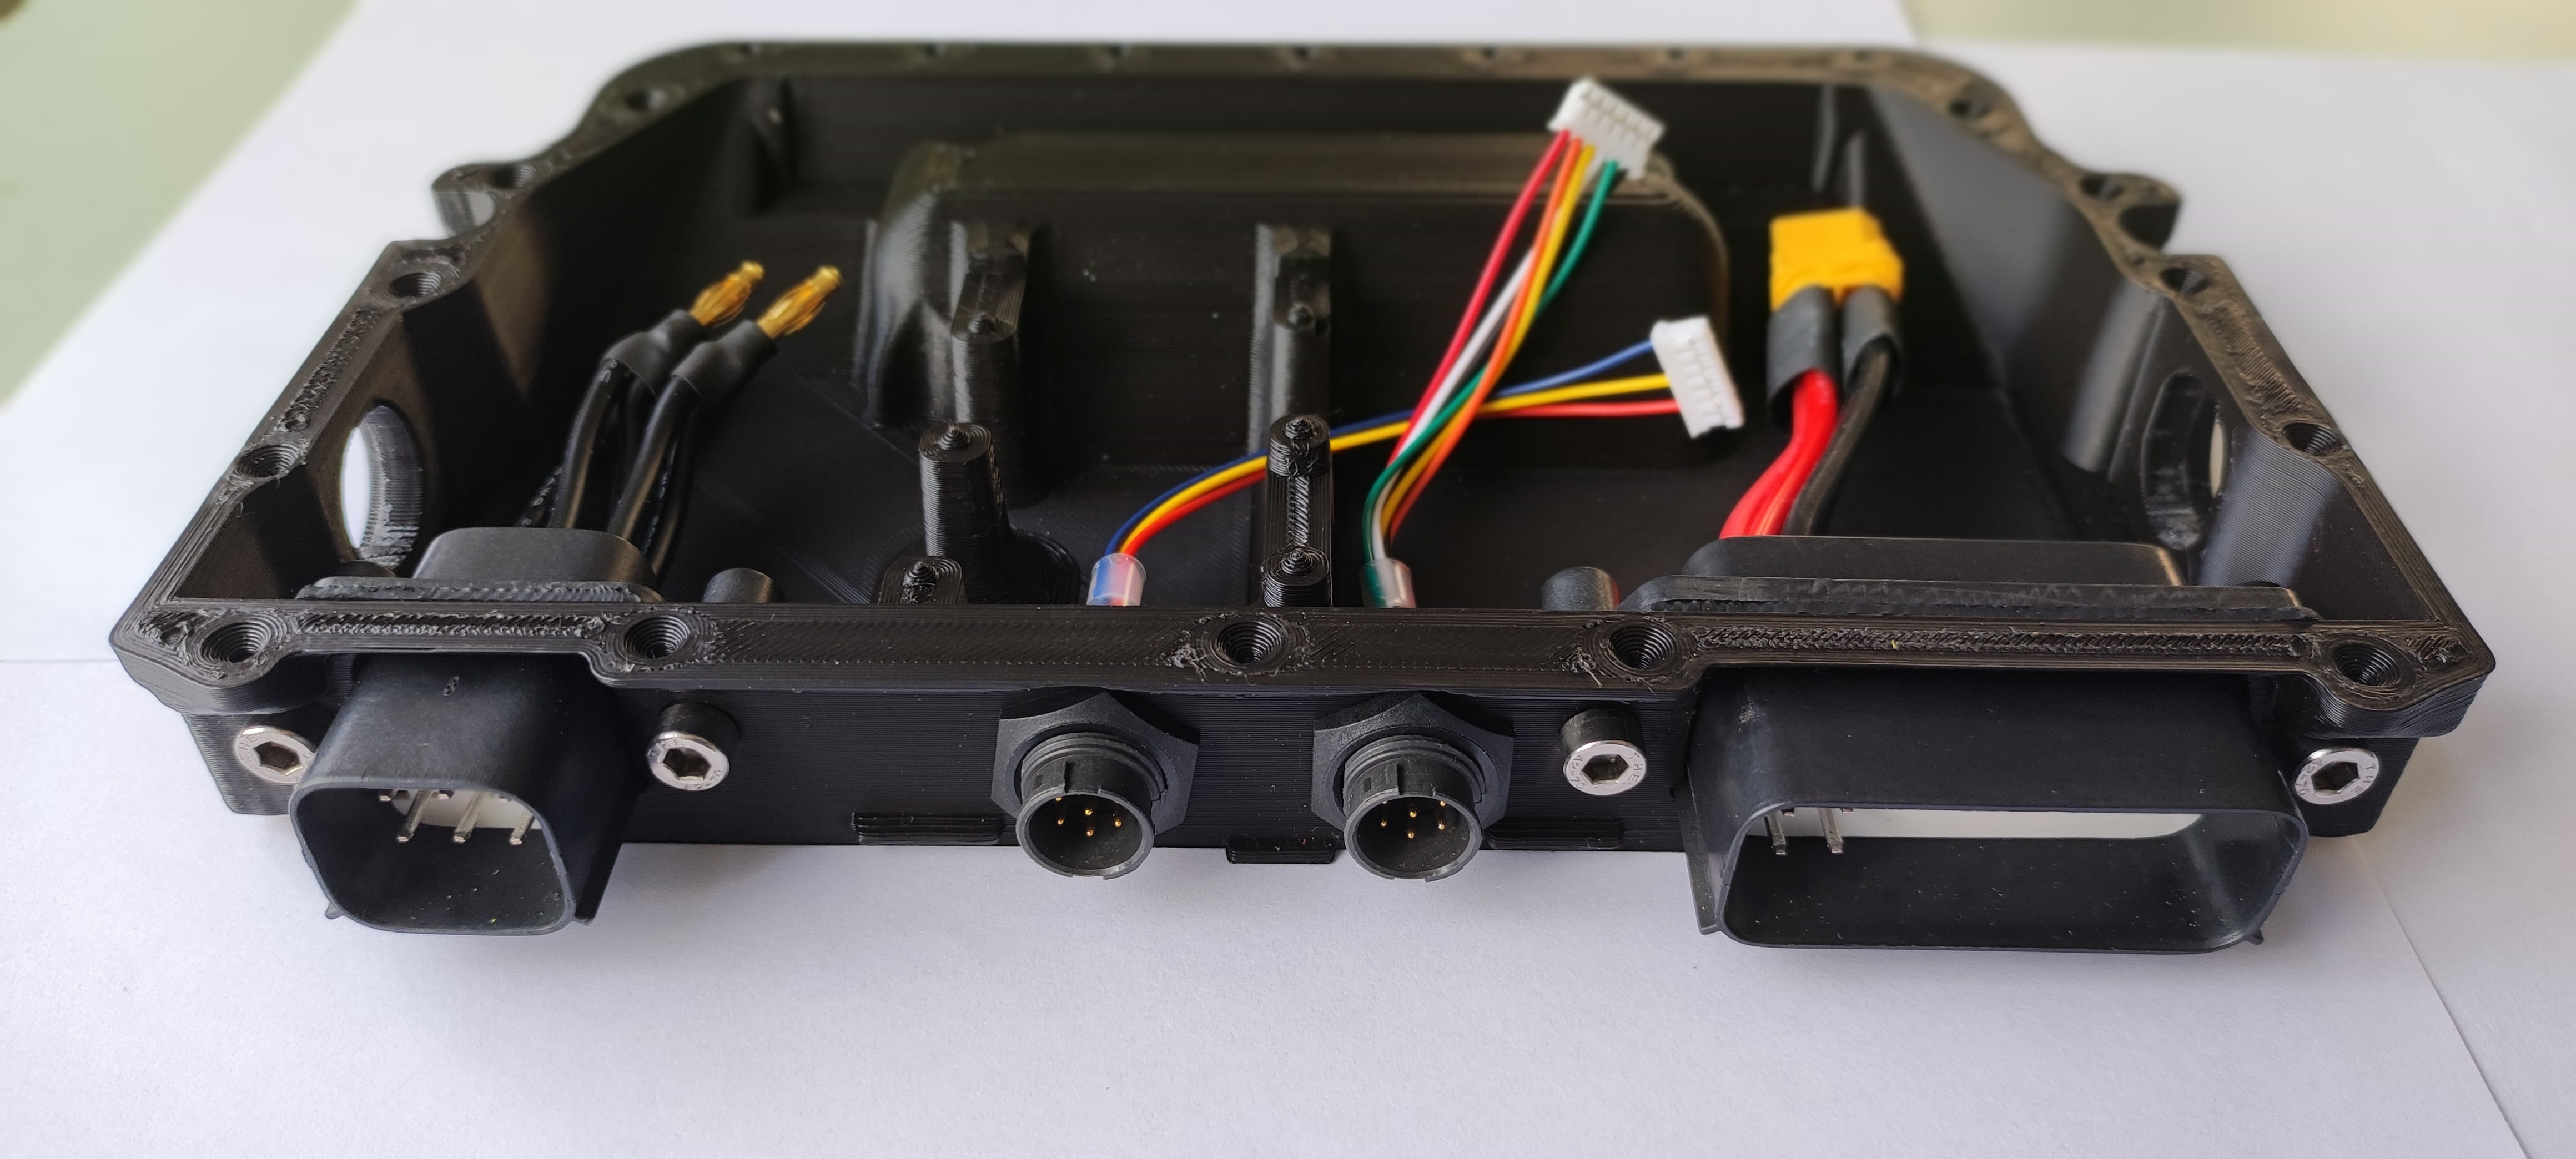
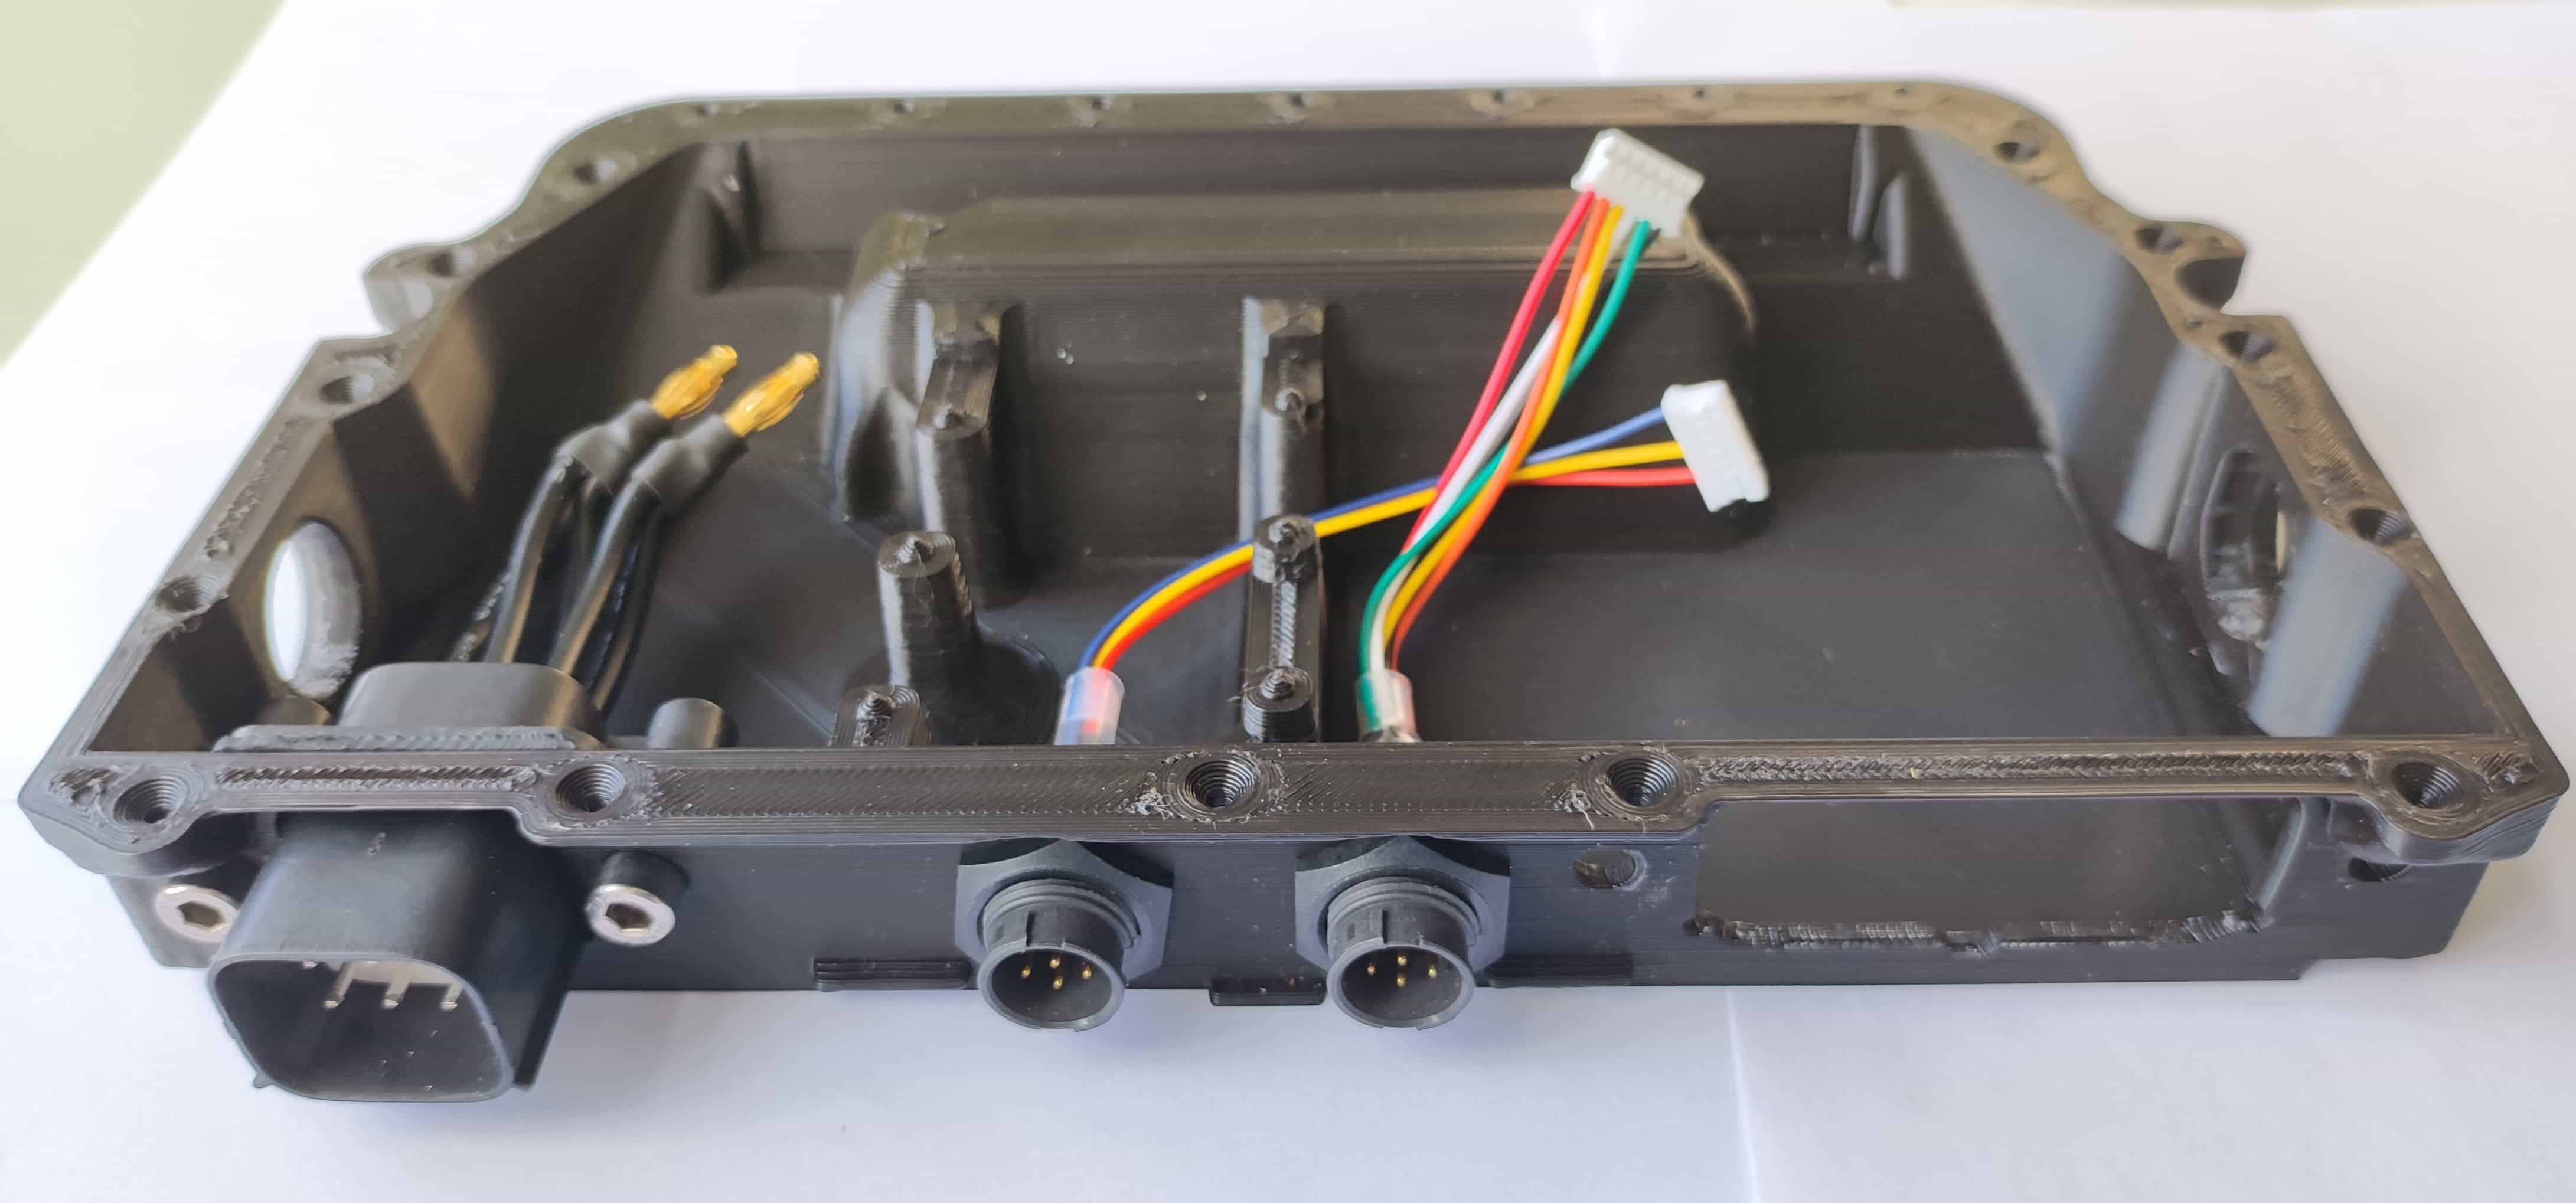
Step 6. Get the nut of the switch, install the switch and put the nut again.

Step 7. Get the nut of the port, install the XLR-charging port in the box.
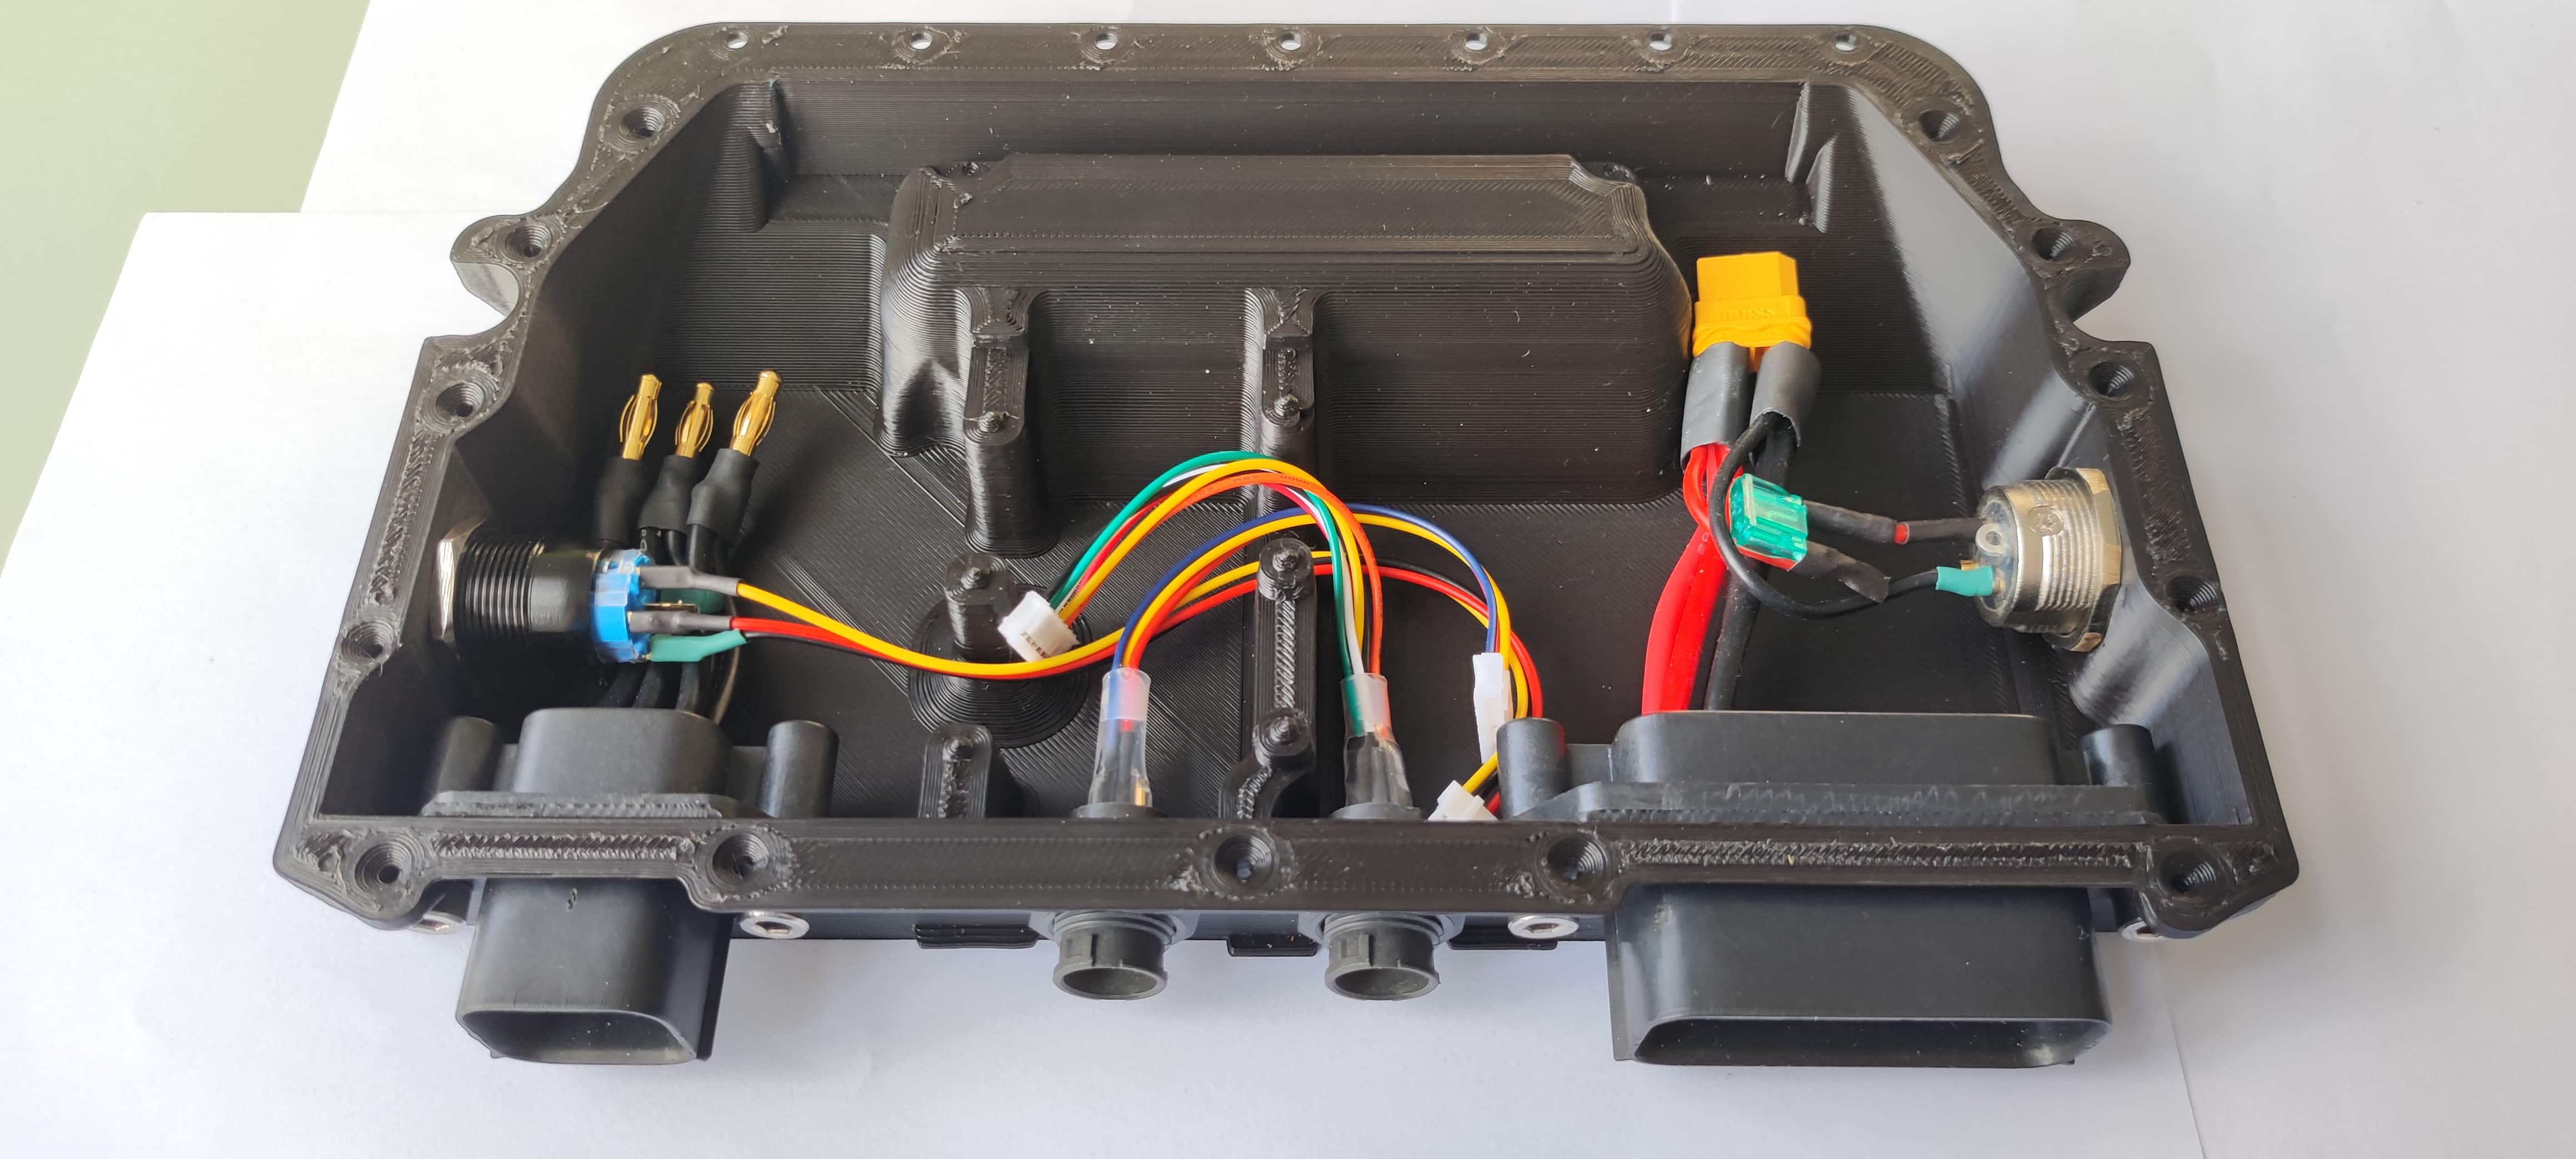
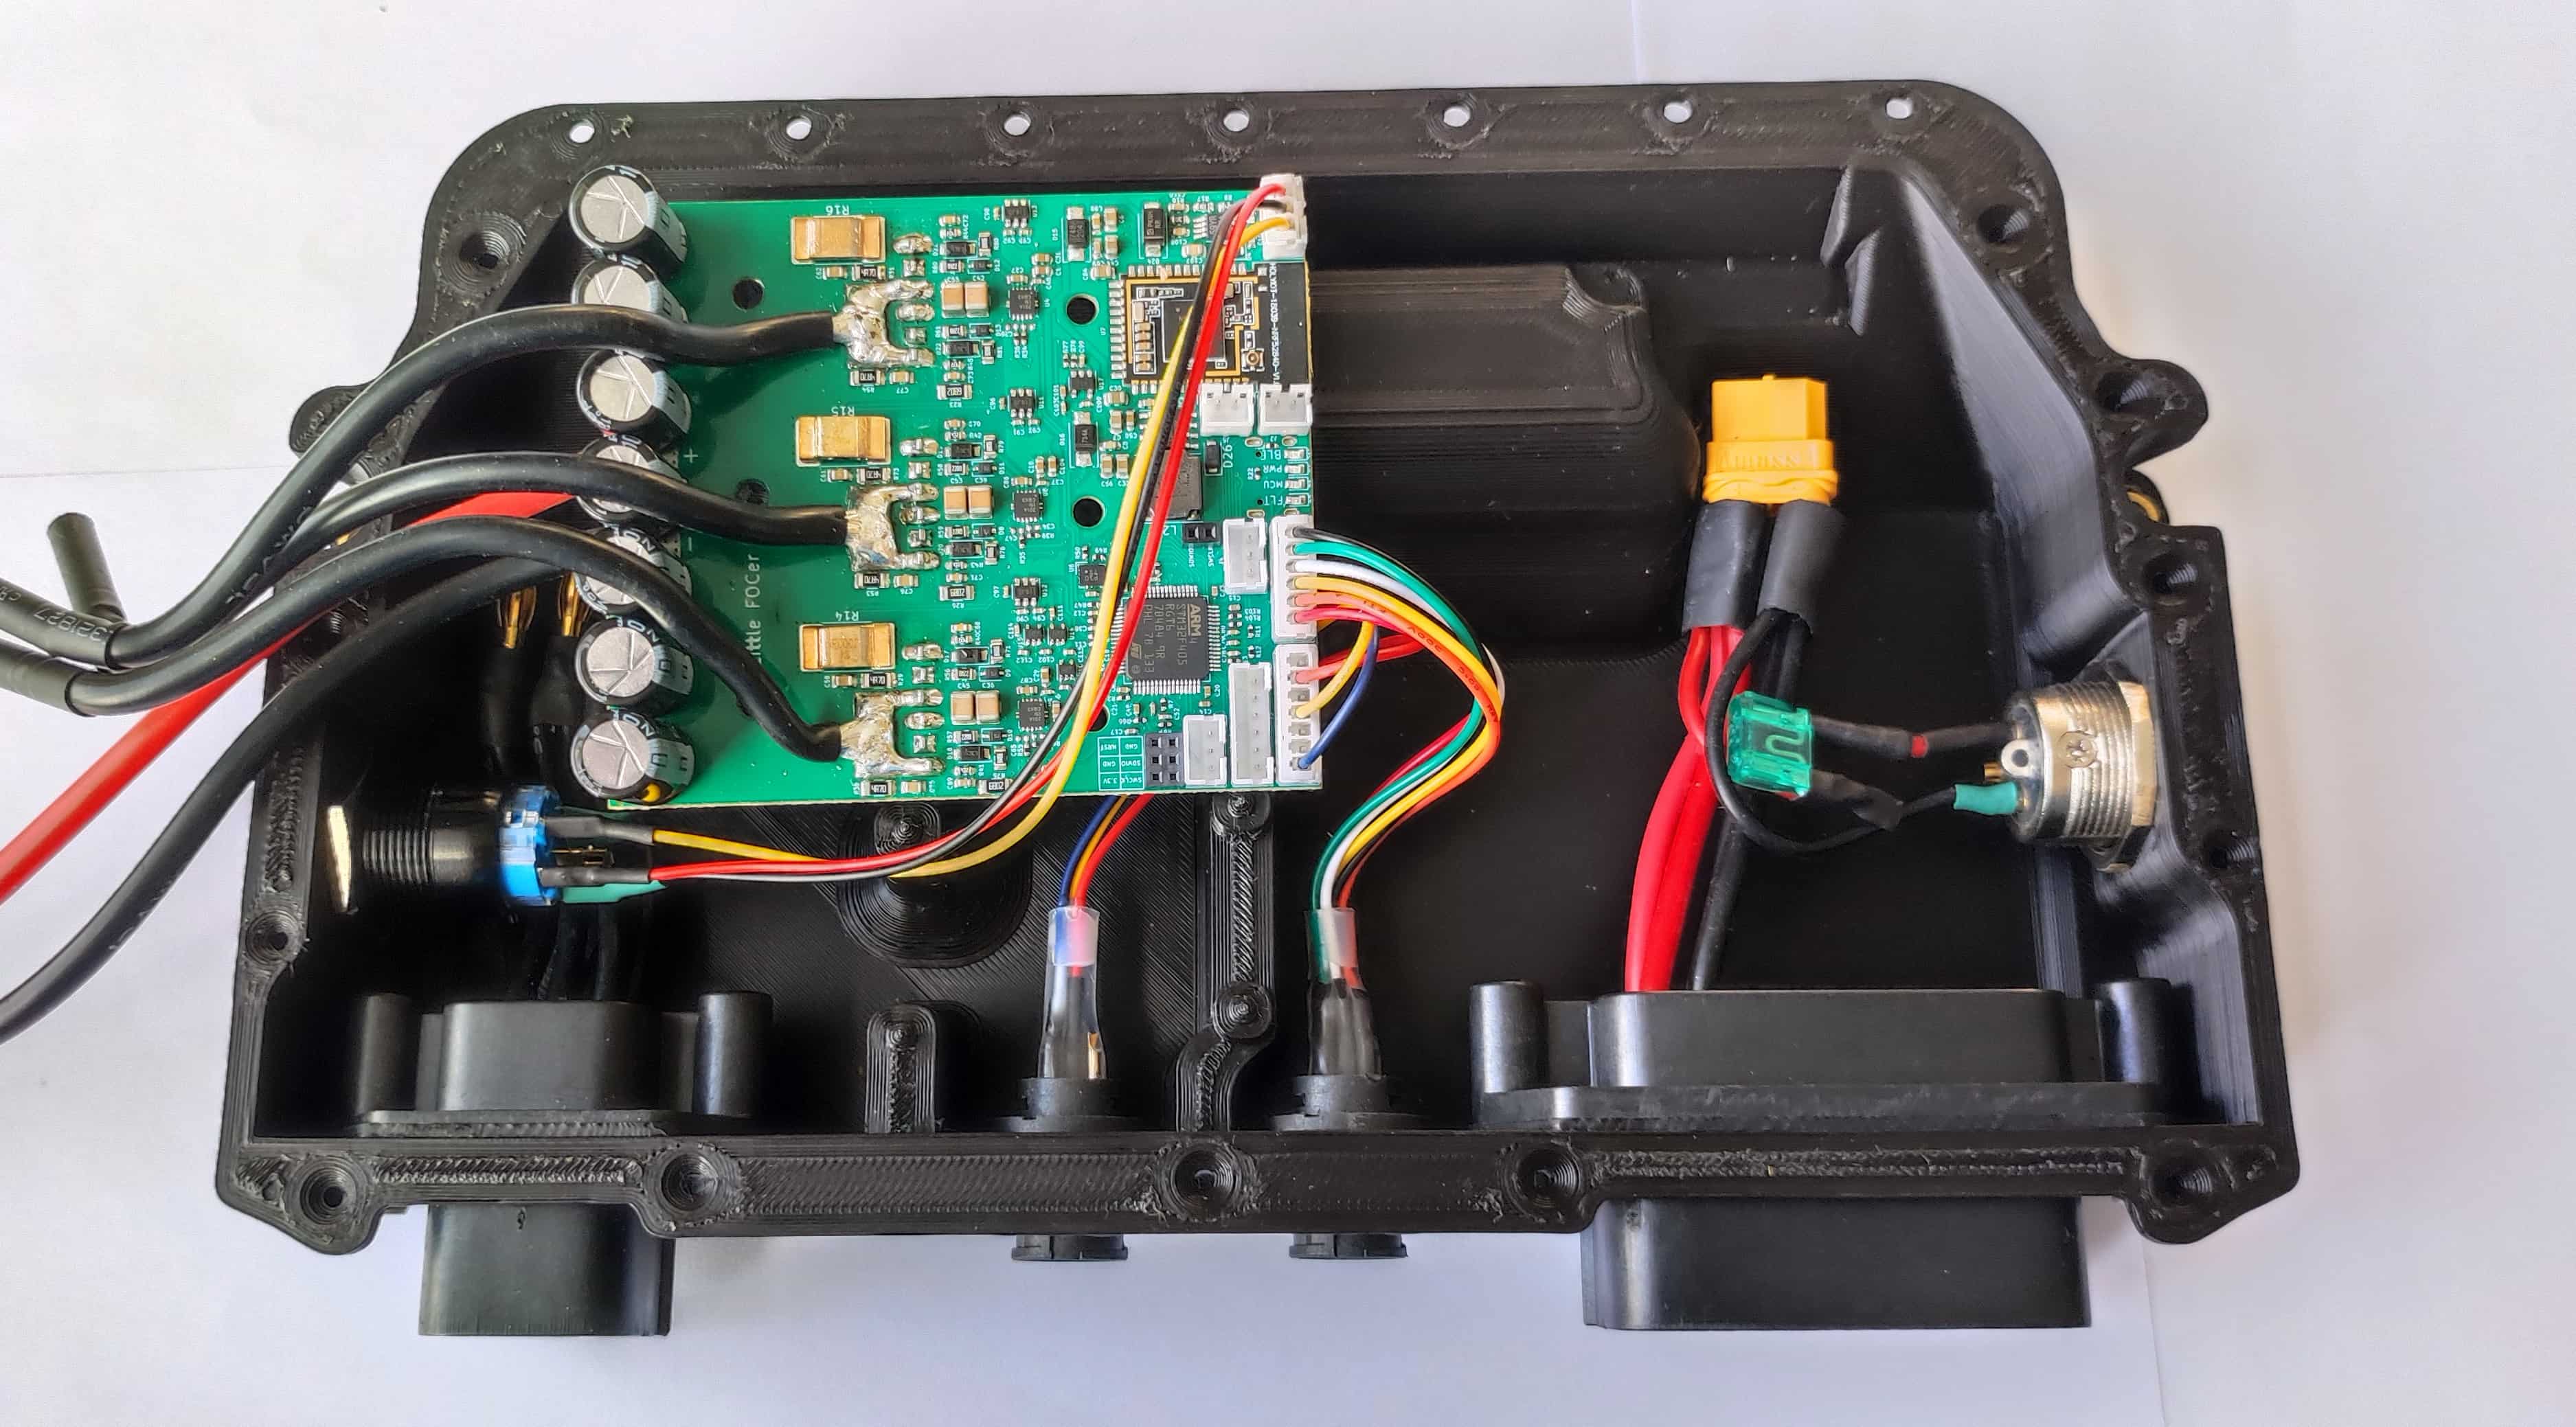
Step 8. Introduce the speed controller to the box and connect the power switch to the speed controller.

Step 9. Connect the hall-sensor to the speed controller.
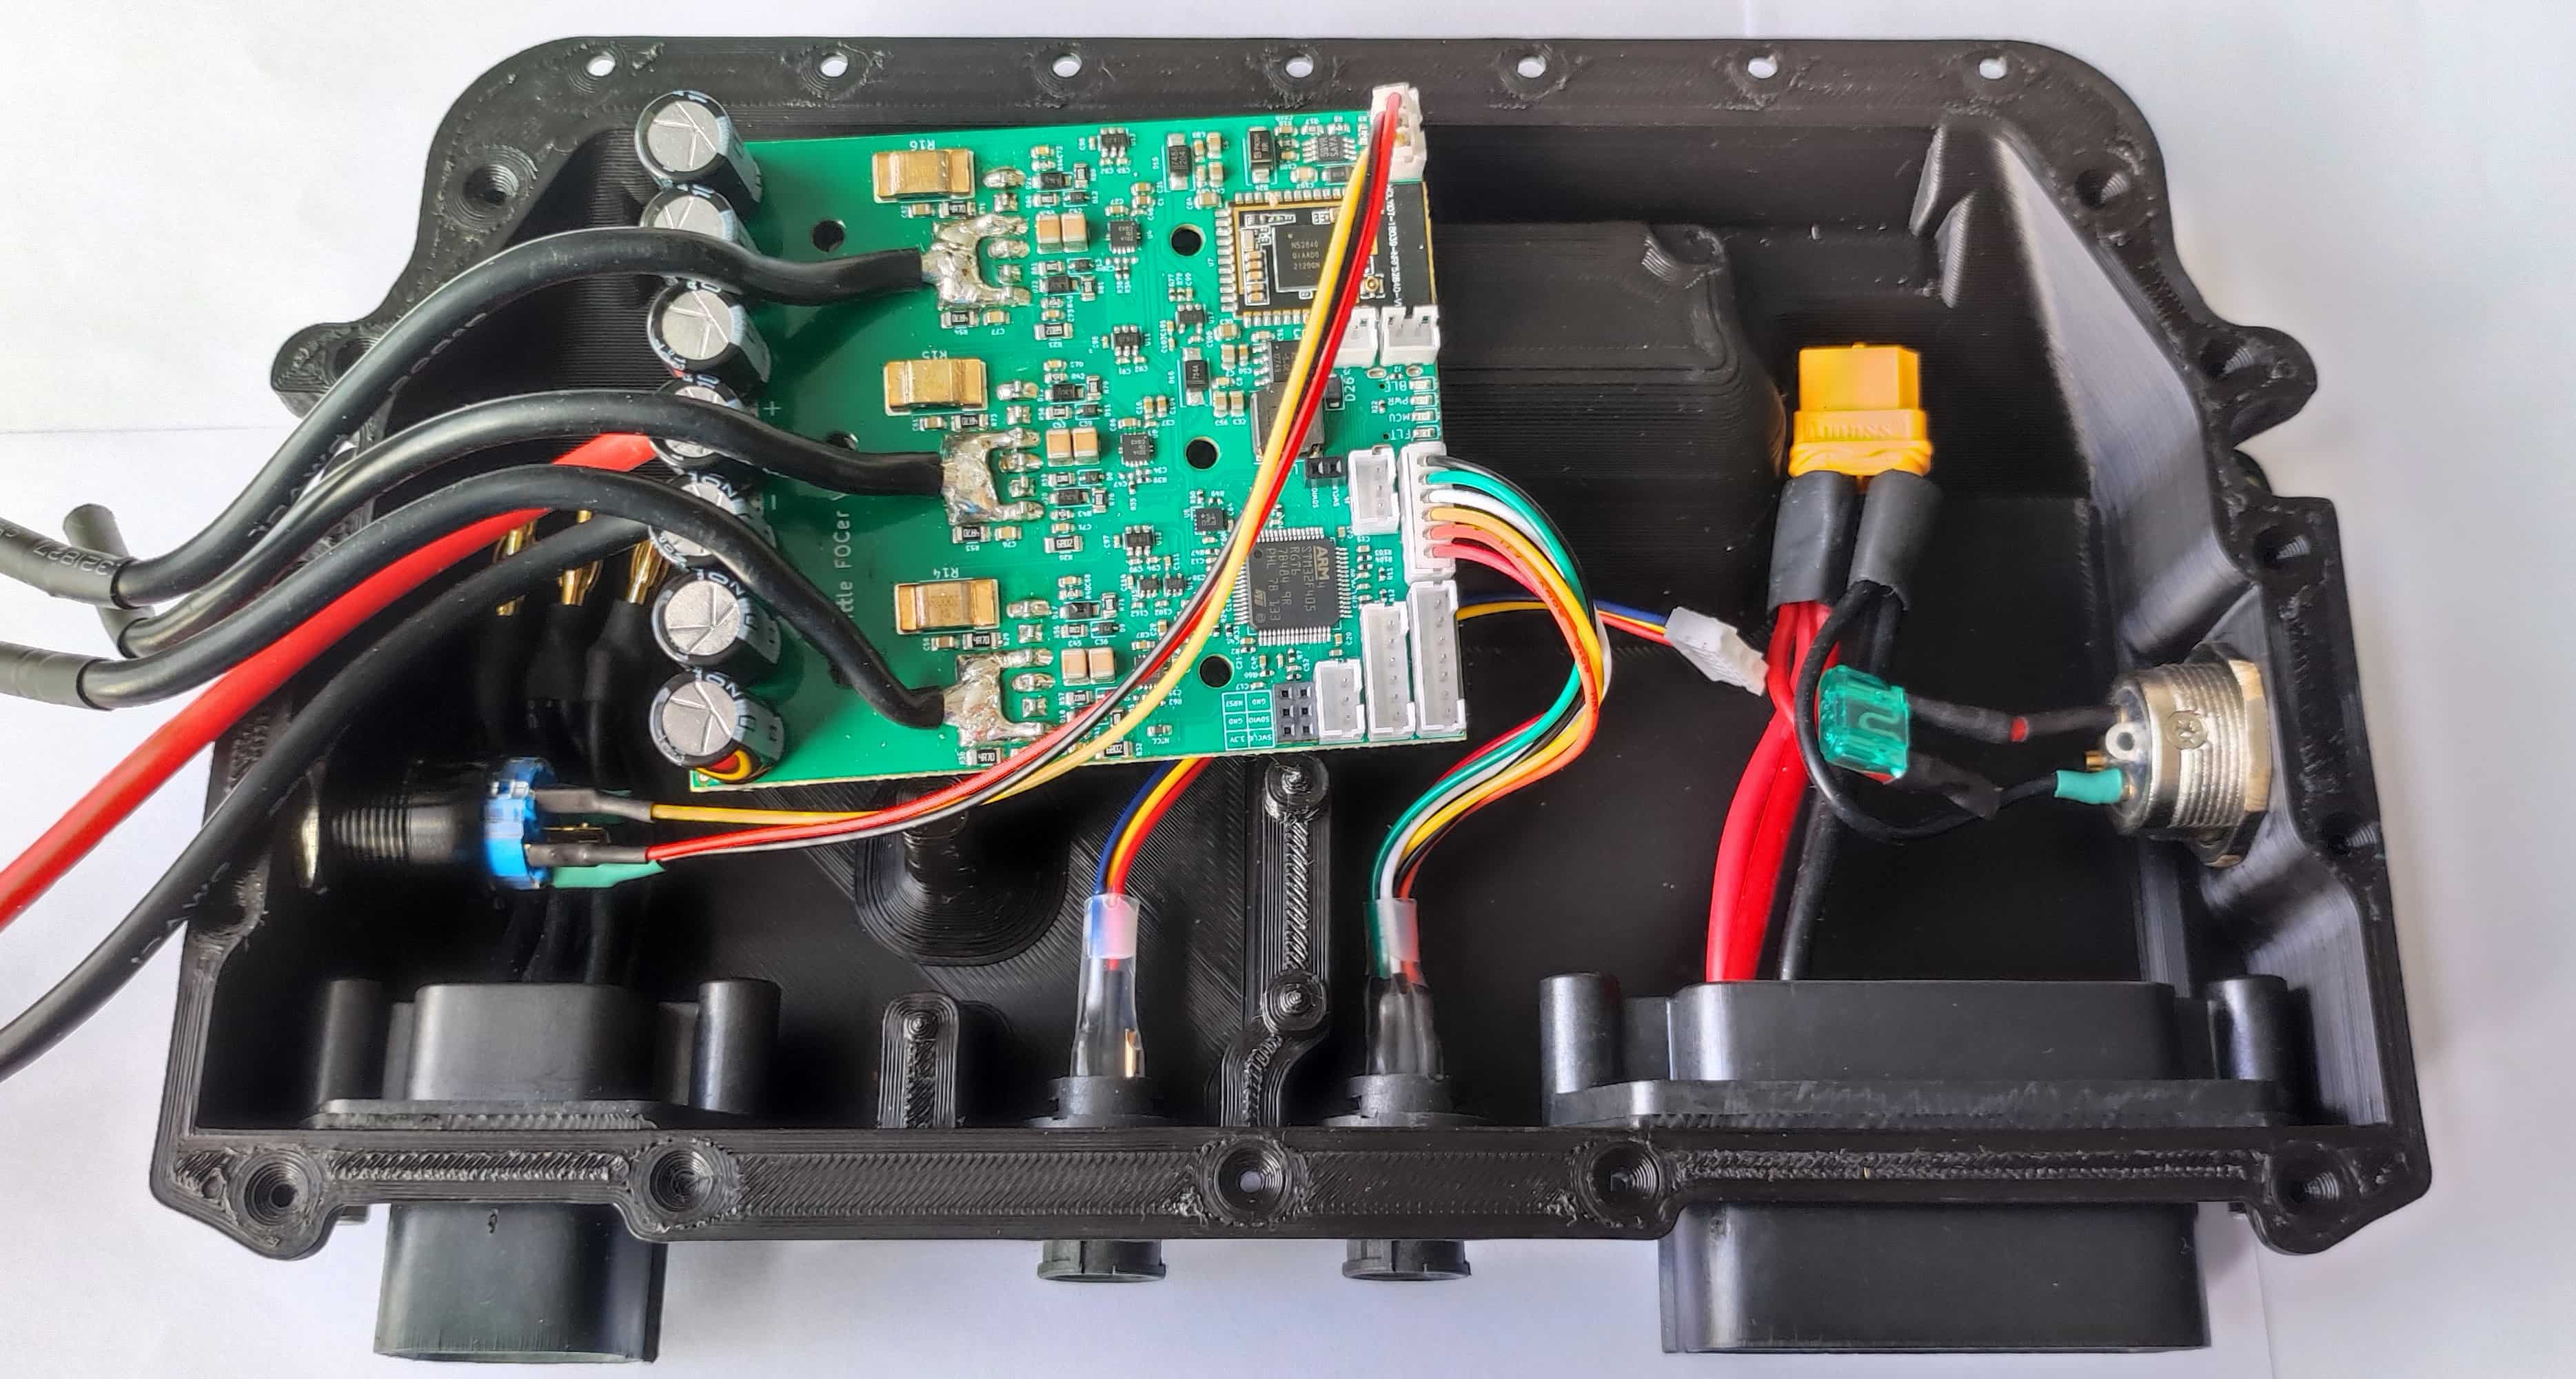
Step 10. Connect the footpad-sensor to the speed controller.
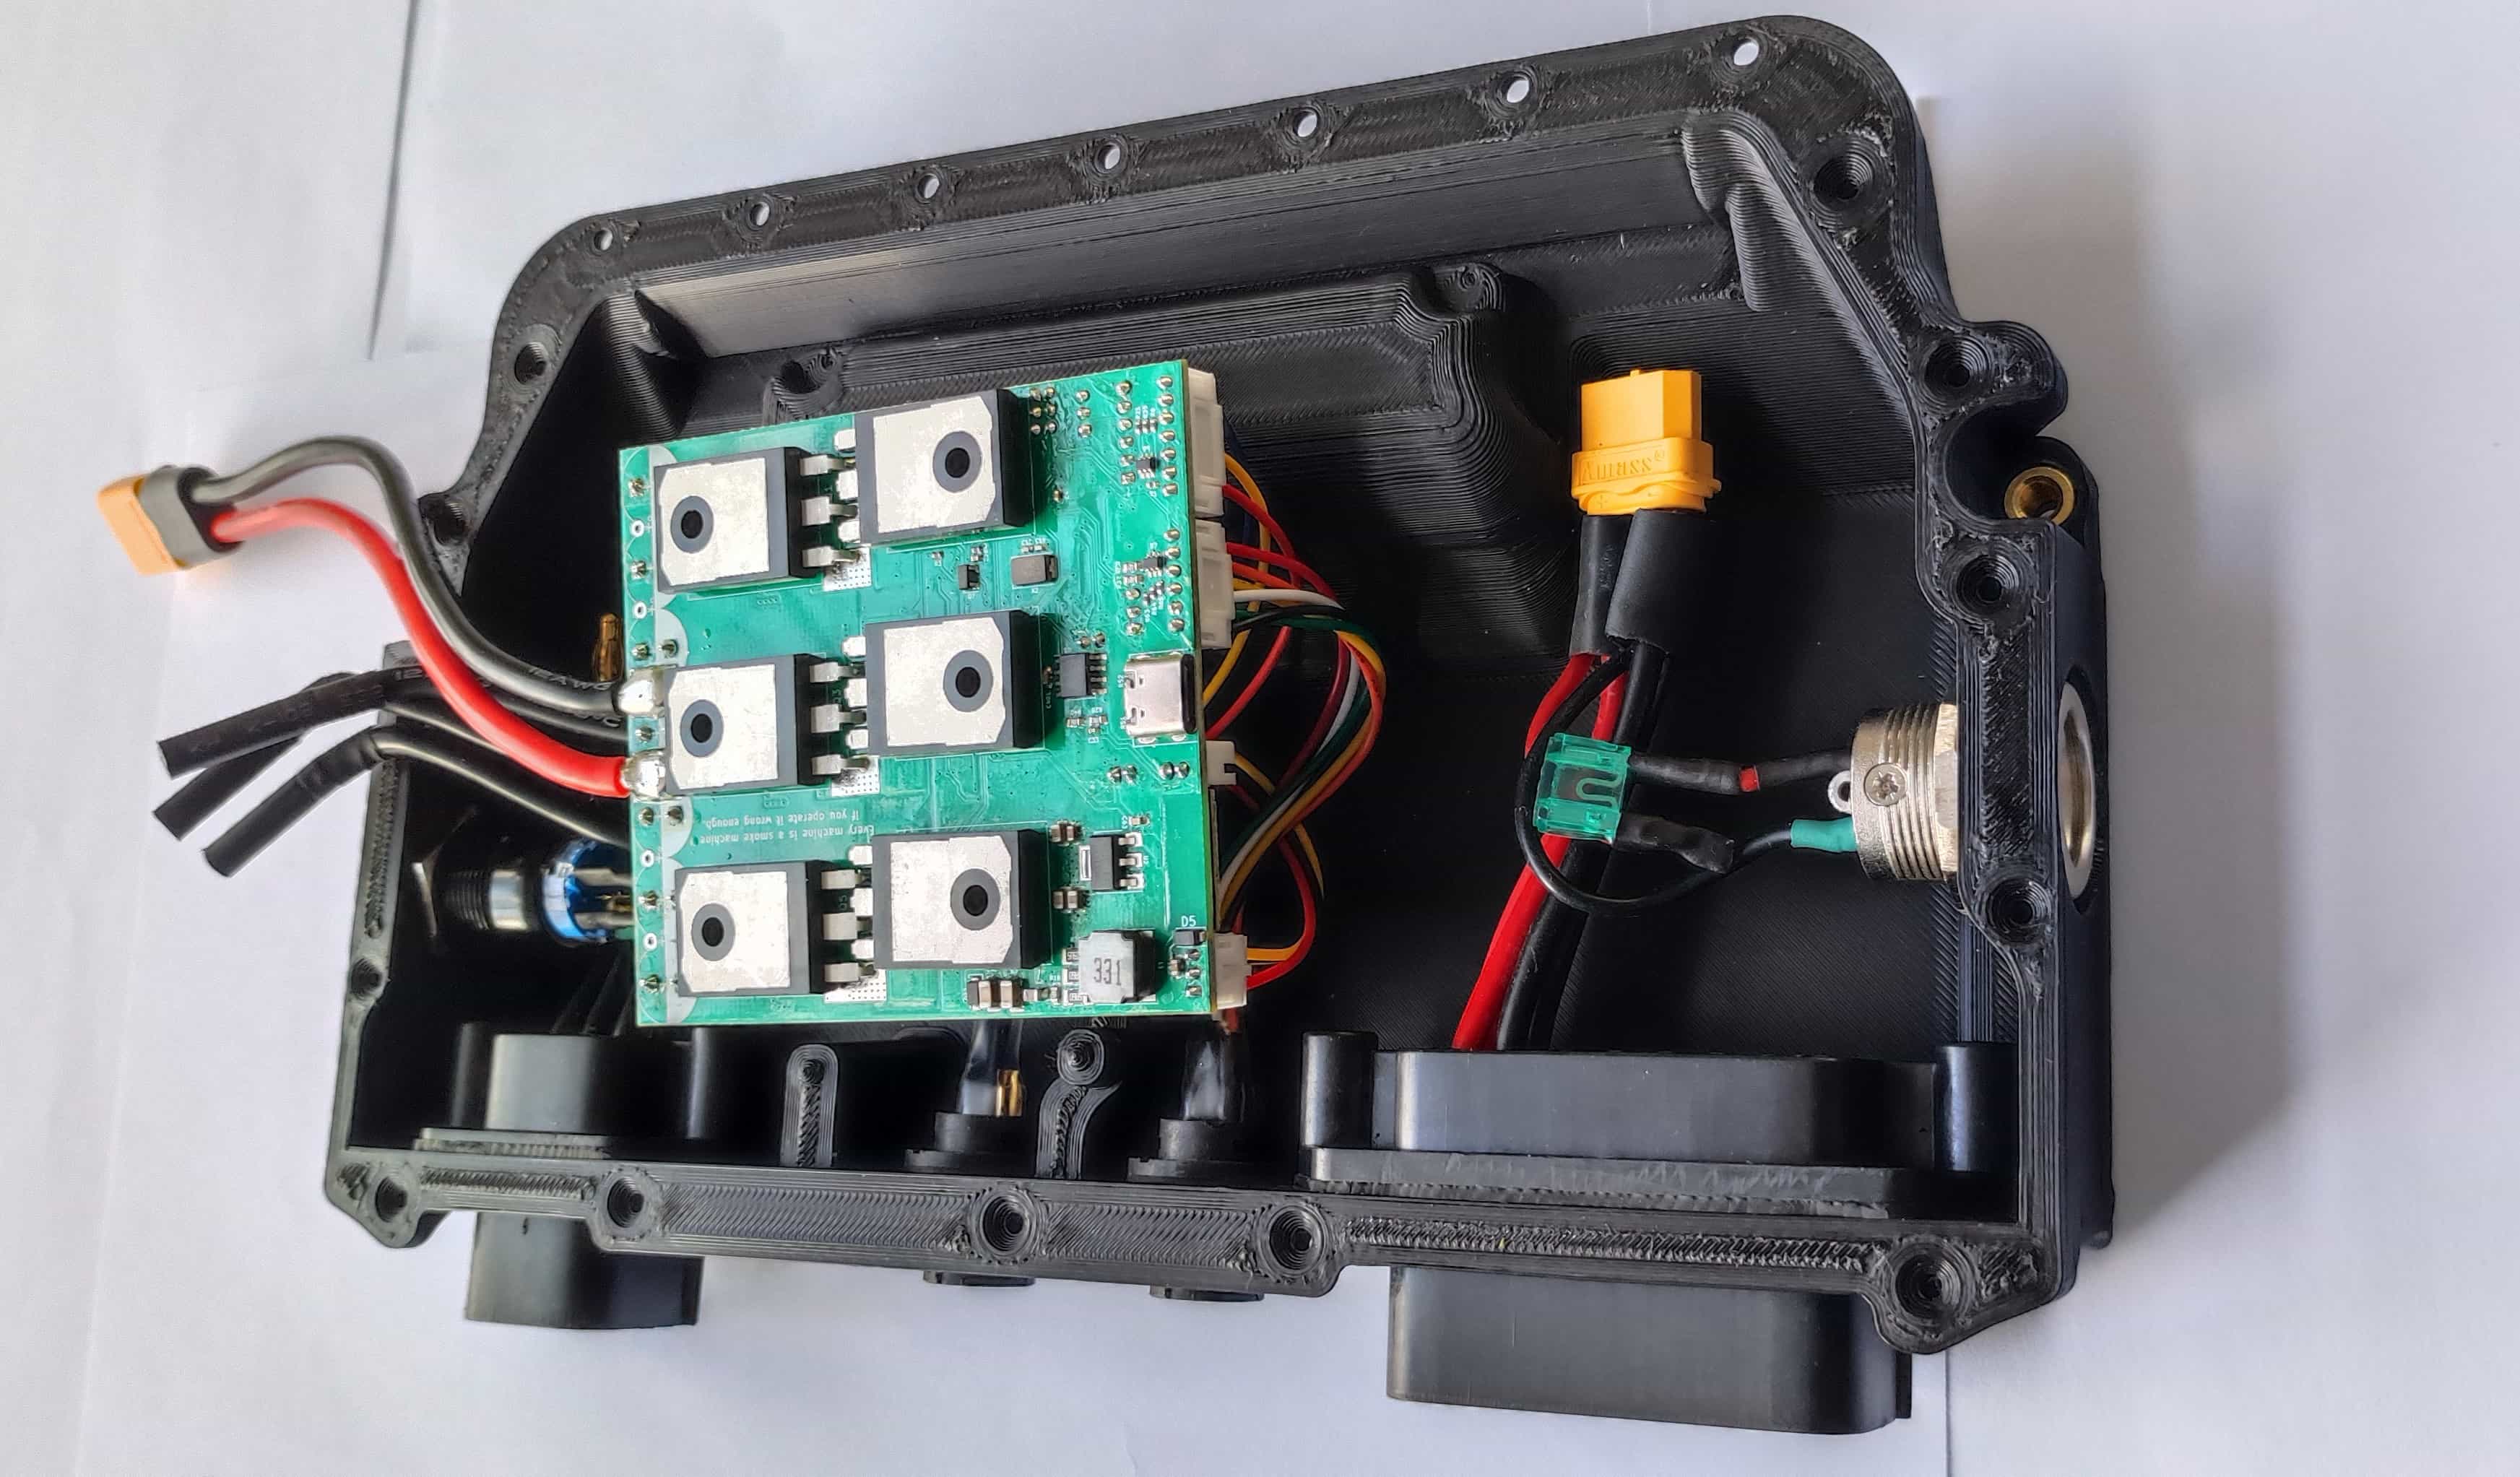
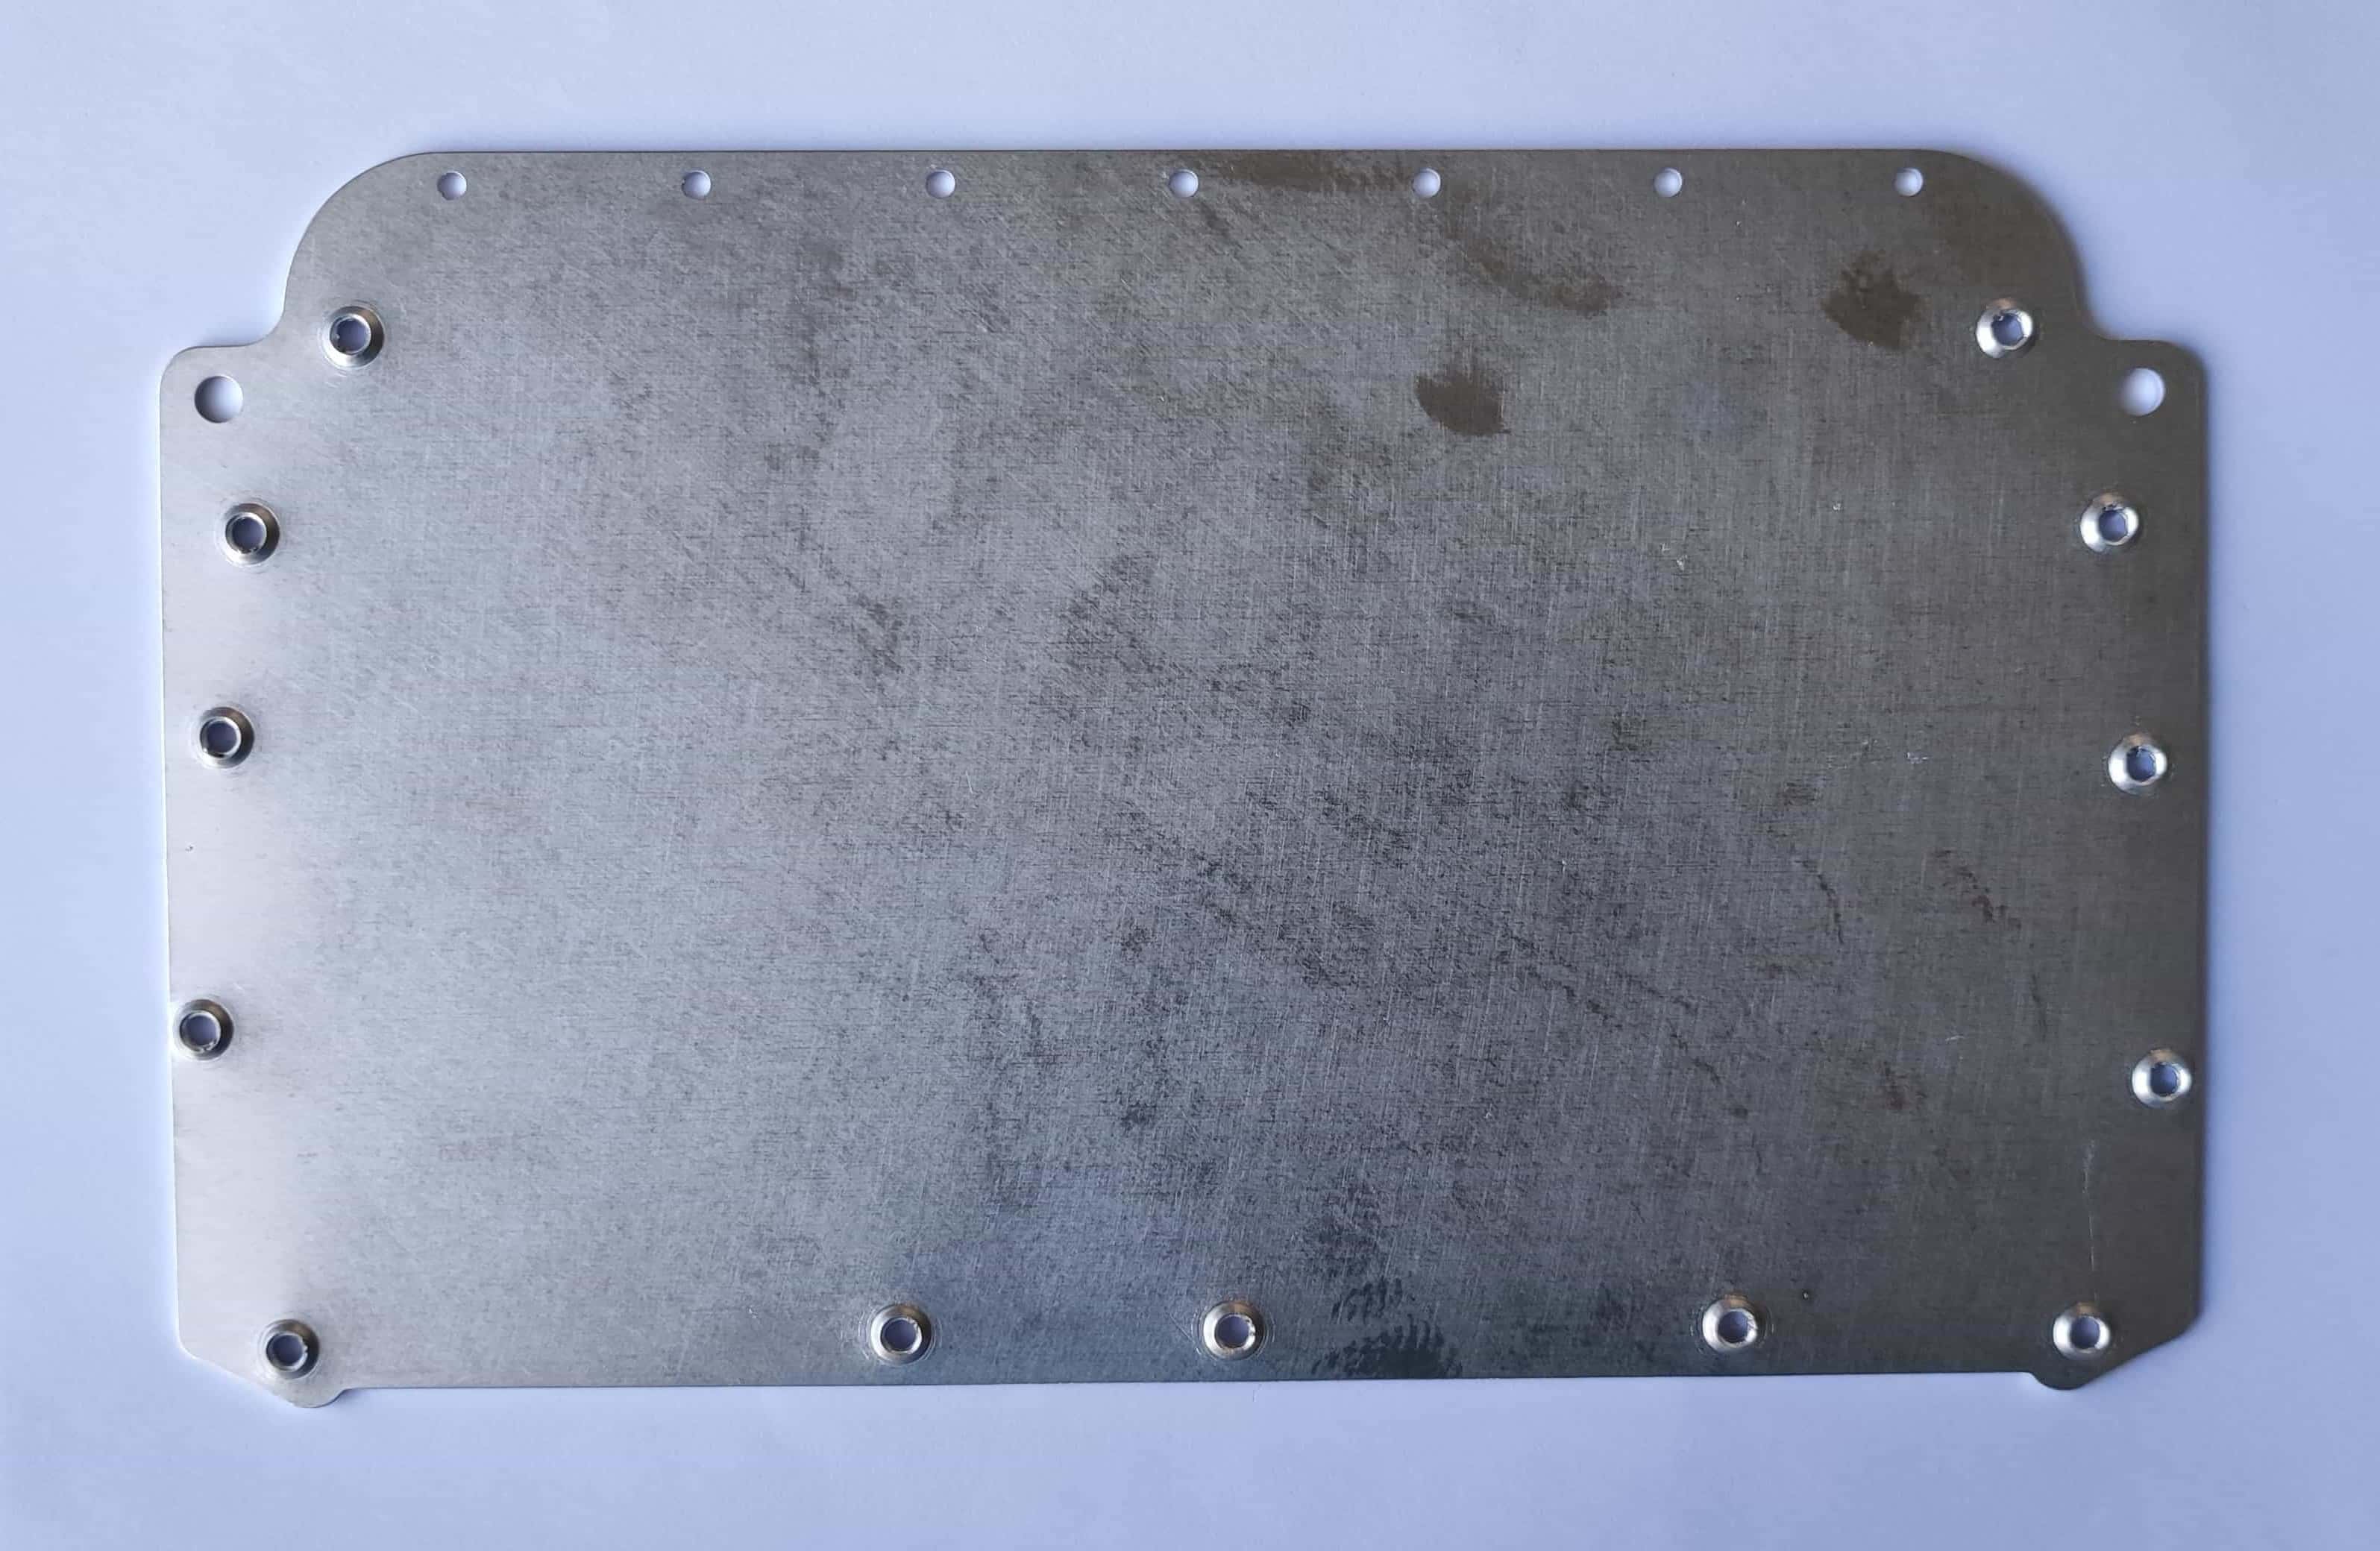
Step 11. Turn the controller upside down and put the 6 pins of the box in the small holes of the speed controller. Make sure the pins are put properly in the holes to avoid damage to components when closing up the box.
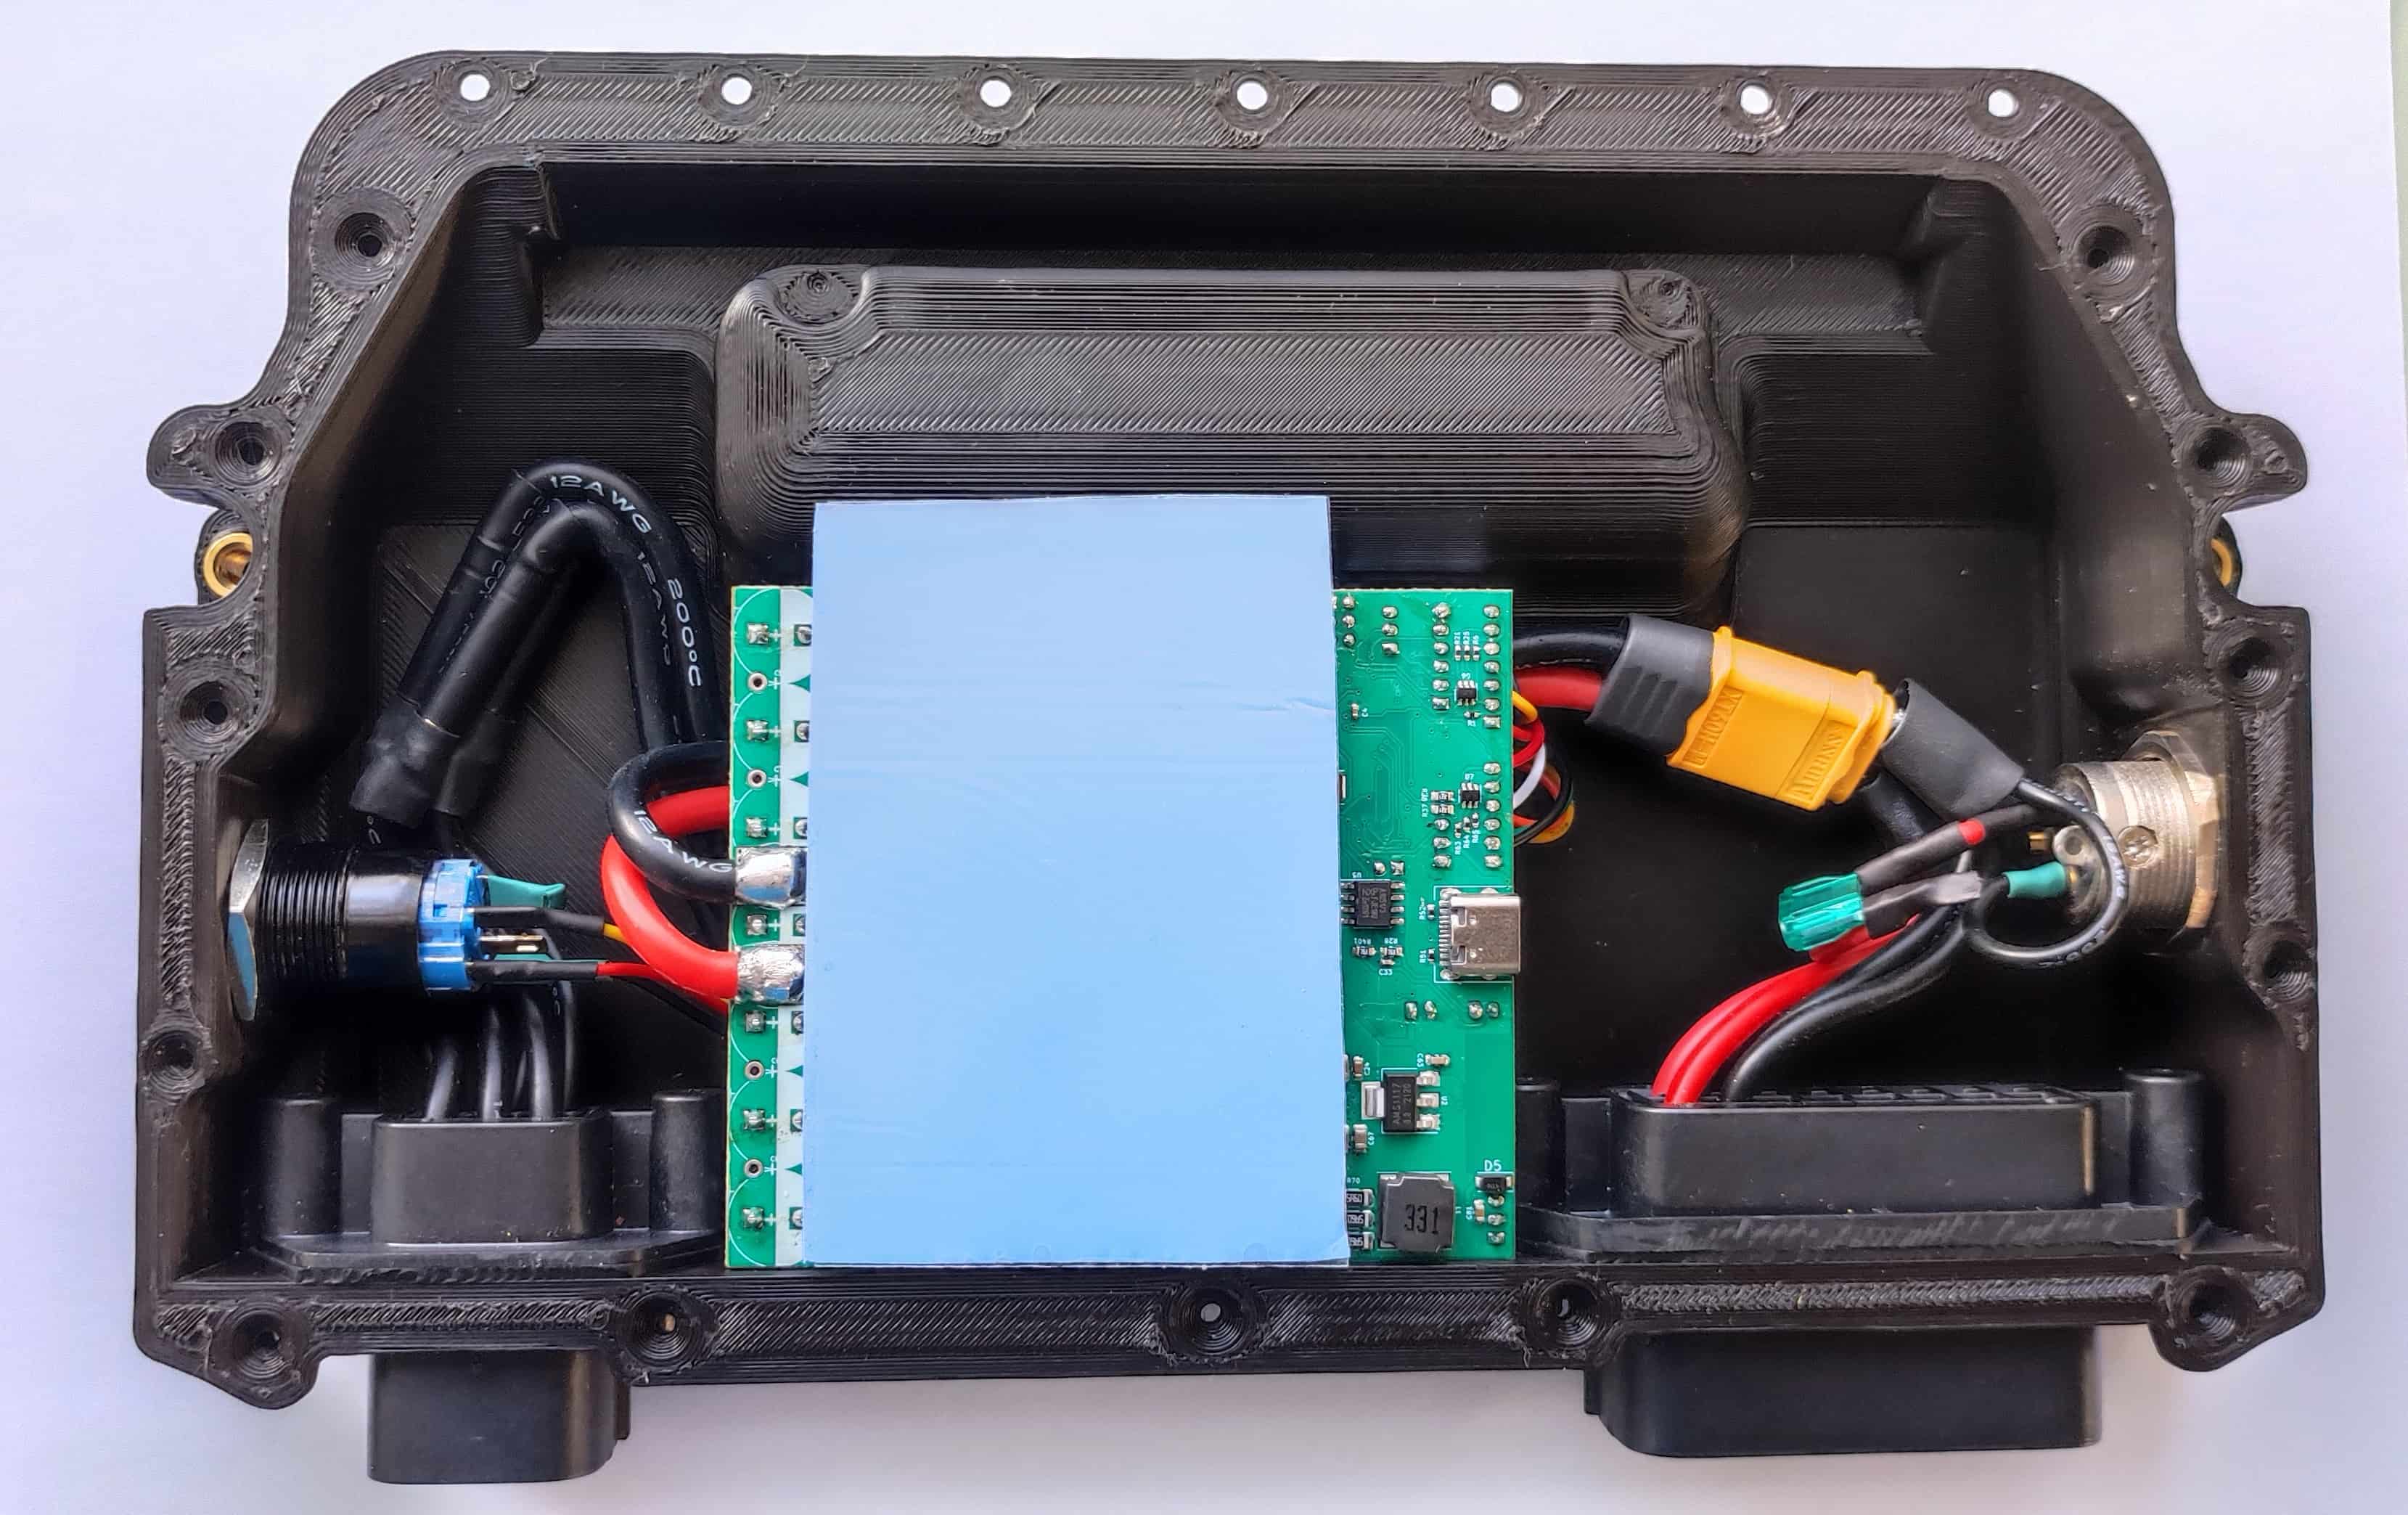
Step 12. Take the protector of the thermal pad on both sides. Put the pad gently on top of the six mosfets.
Step
Step